
Shade Garden
Spring 2010
What to do, when you have a yard with no lawn?
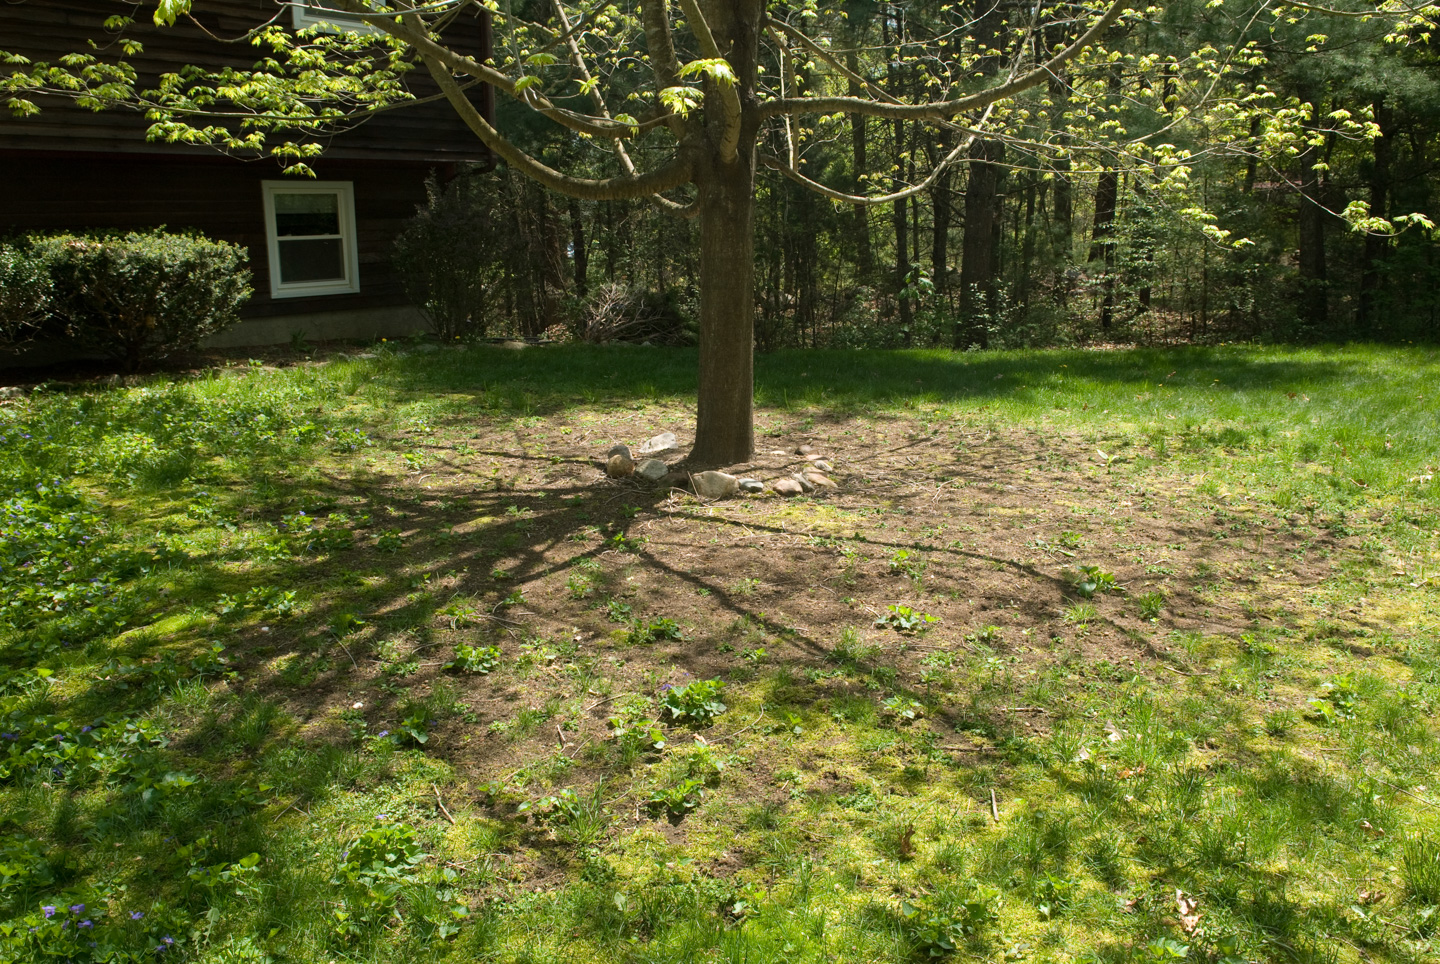
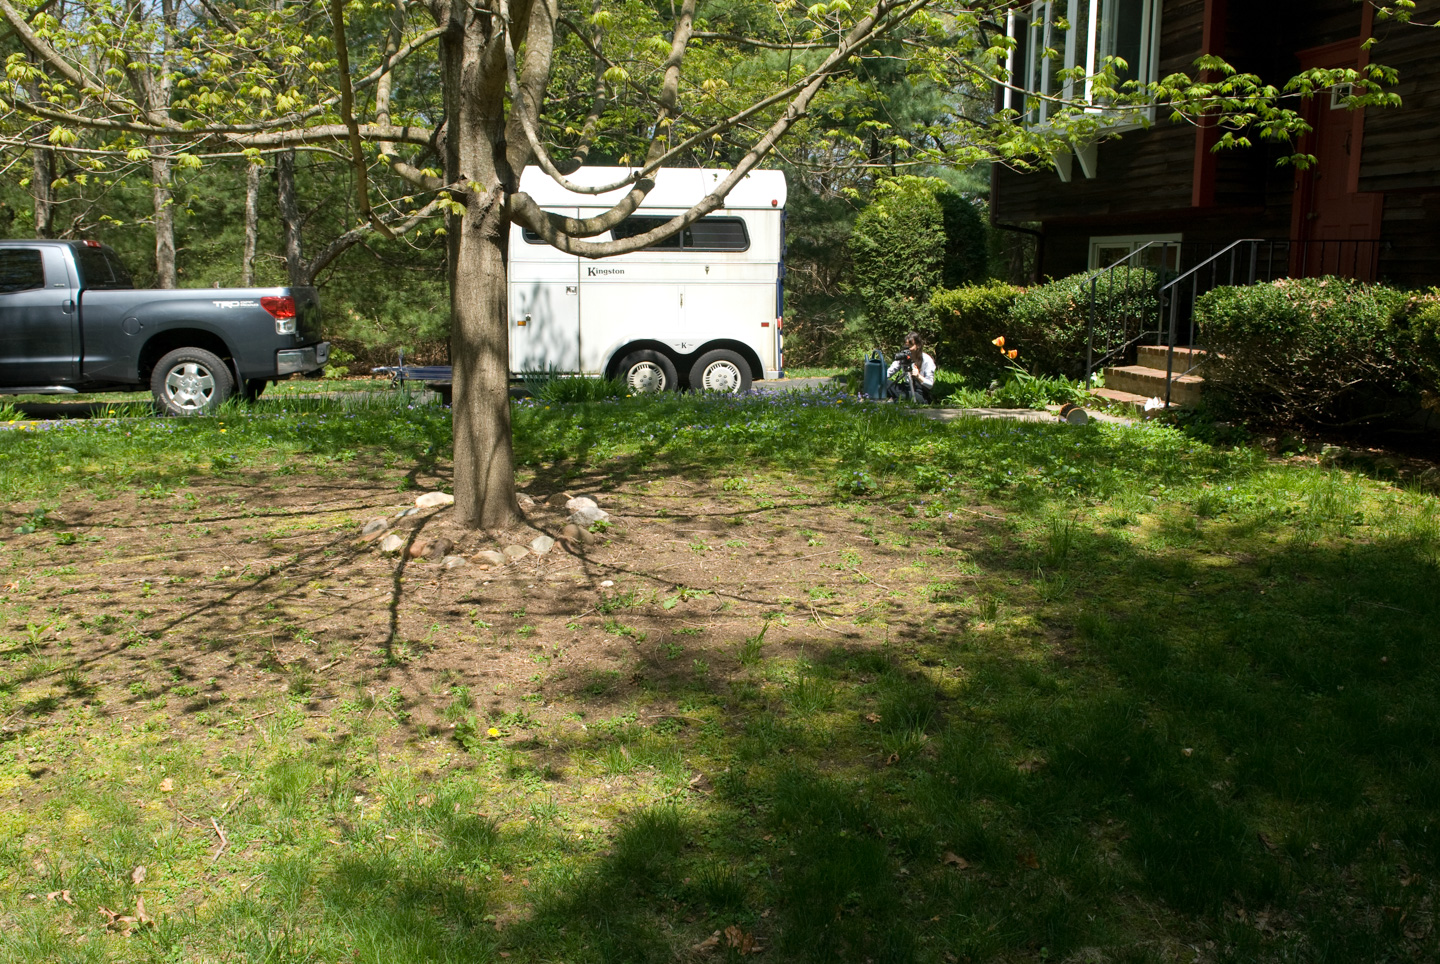
We had tried multiple times to get grass to grow, with no luck. When we went camping last fall, at the campground there was a really neat plant.
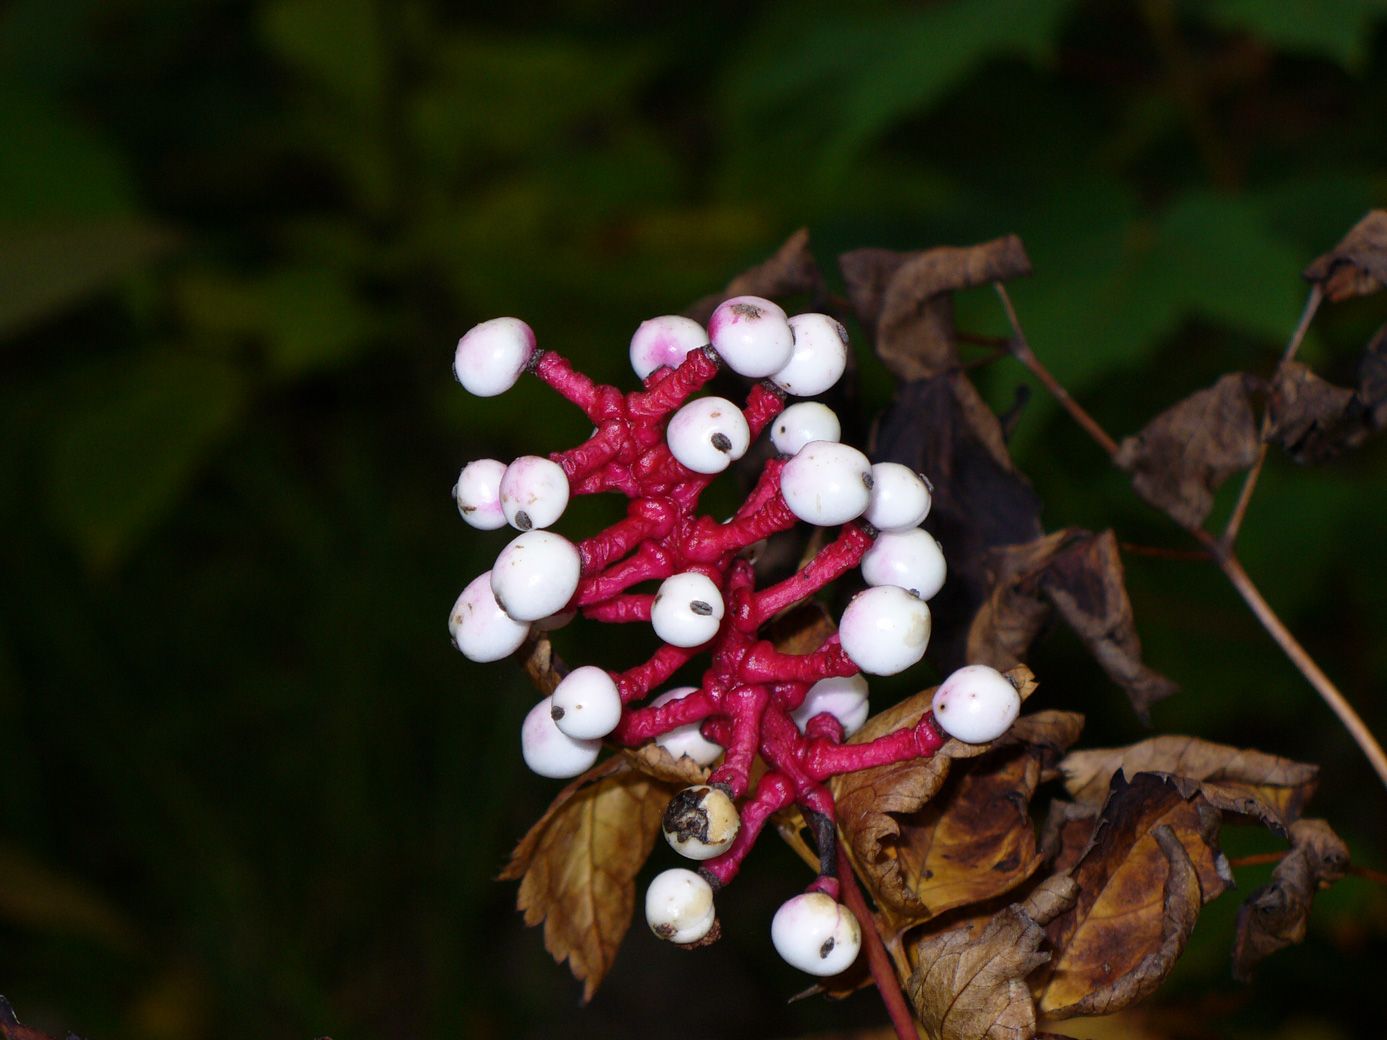
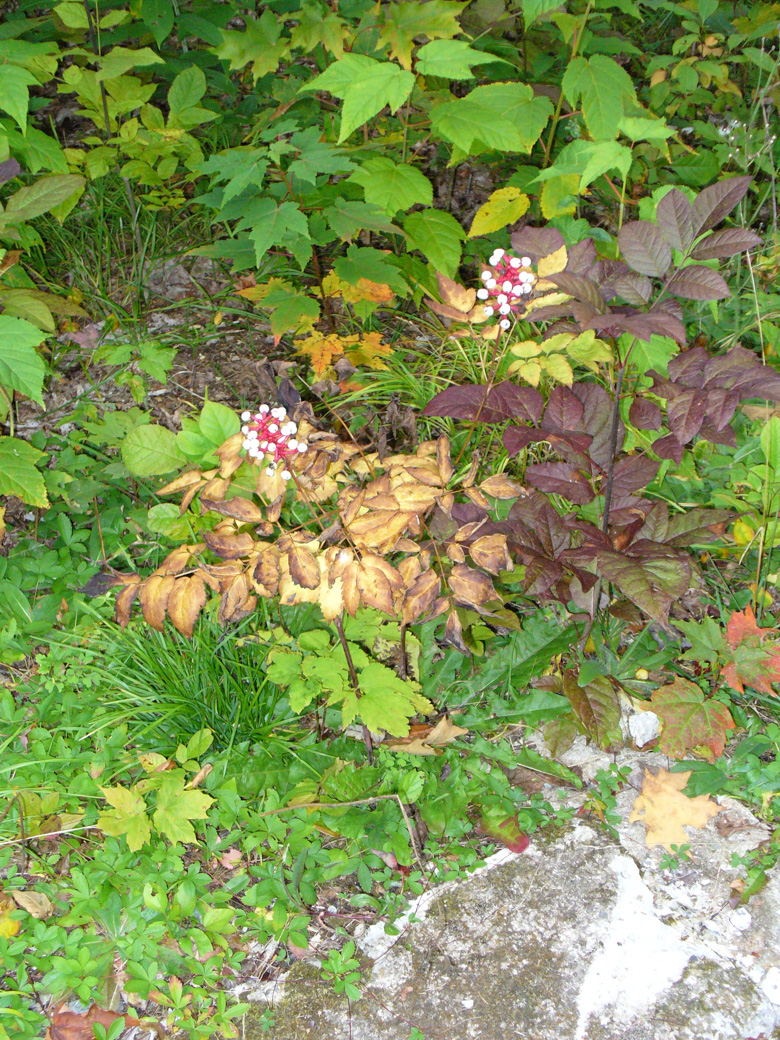
I called it the eye-ball plant. Turns out the common name of the plant is actually Doll's Eyes. But this got me thinking about putting a shade garden under the tree.
Aunt Jenn mentioned root competition, not shade, might be our problem. Hmm. She also sent us a belated Christmas gift, a book called 'Making the Most of Shade'. This book was very informative for me. My planning & investigating started. This stage took a long while, since I was starting from ground zero for knowledge on both perennial gardenning and shade plants. The trusty book said that if root competition is the issue, a raised garden with newspaper providing a temporary barrier is the way to go. I measured the area where the grass wasn't growing, selected plants, mapped out the garden. And discovered that would be way too many plants. So I repeated this a couple more times, using plants that cover a larger area.
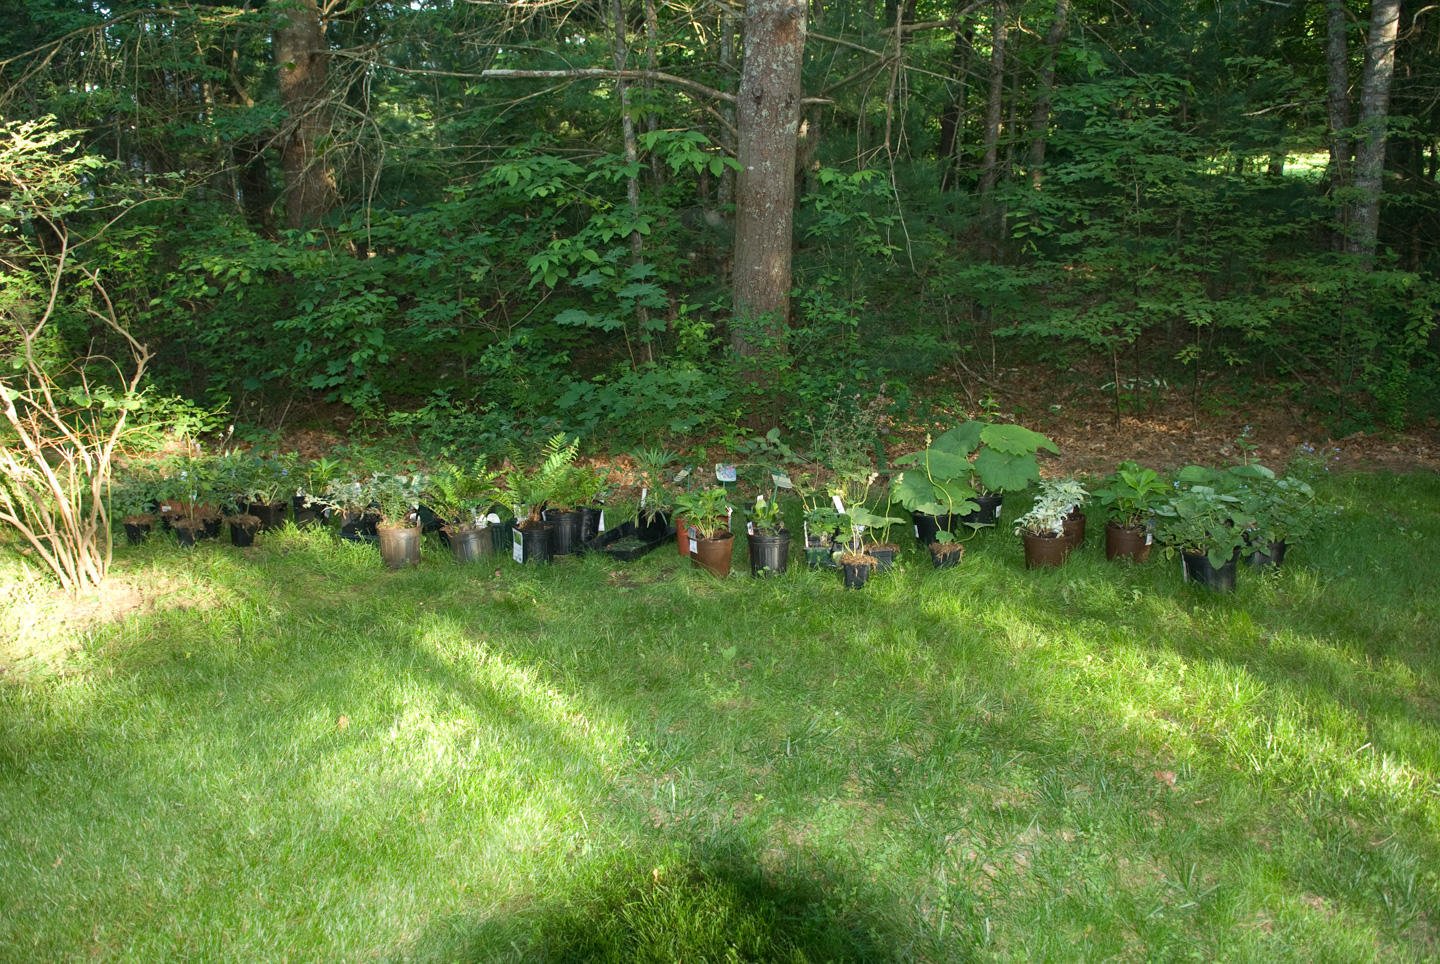
In case any one else is doing some gardening planning, in addition to the book I found the following websites particularly helpful. Missouri Botanical Garden has wonderful information on many types of plants. The nursery Lazy S's Farm had a lot of good information, and in fact I ordered some plants from them. And Romence Gardens also has some pretty good information. Most of my plants came from Russell's Garden Center. Here are most of my plants, waiting to be deployed.
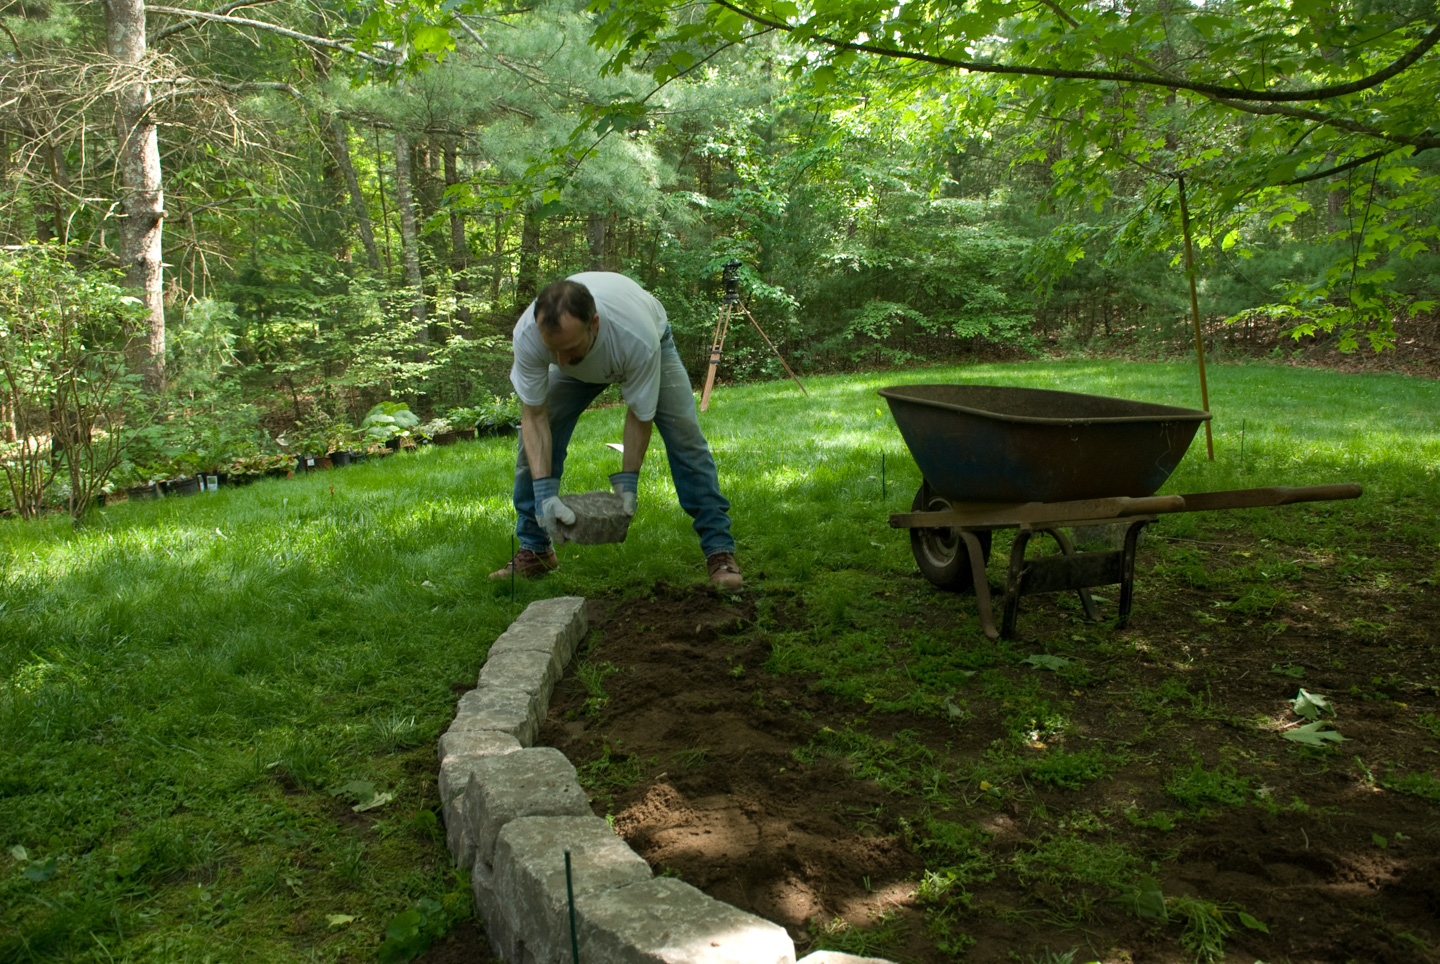
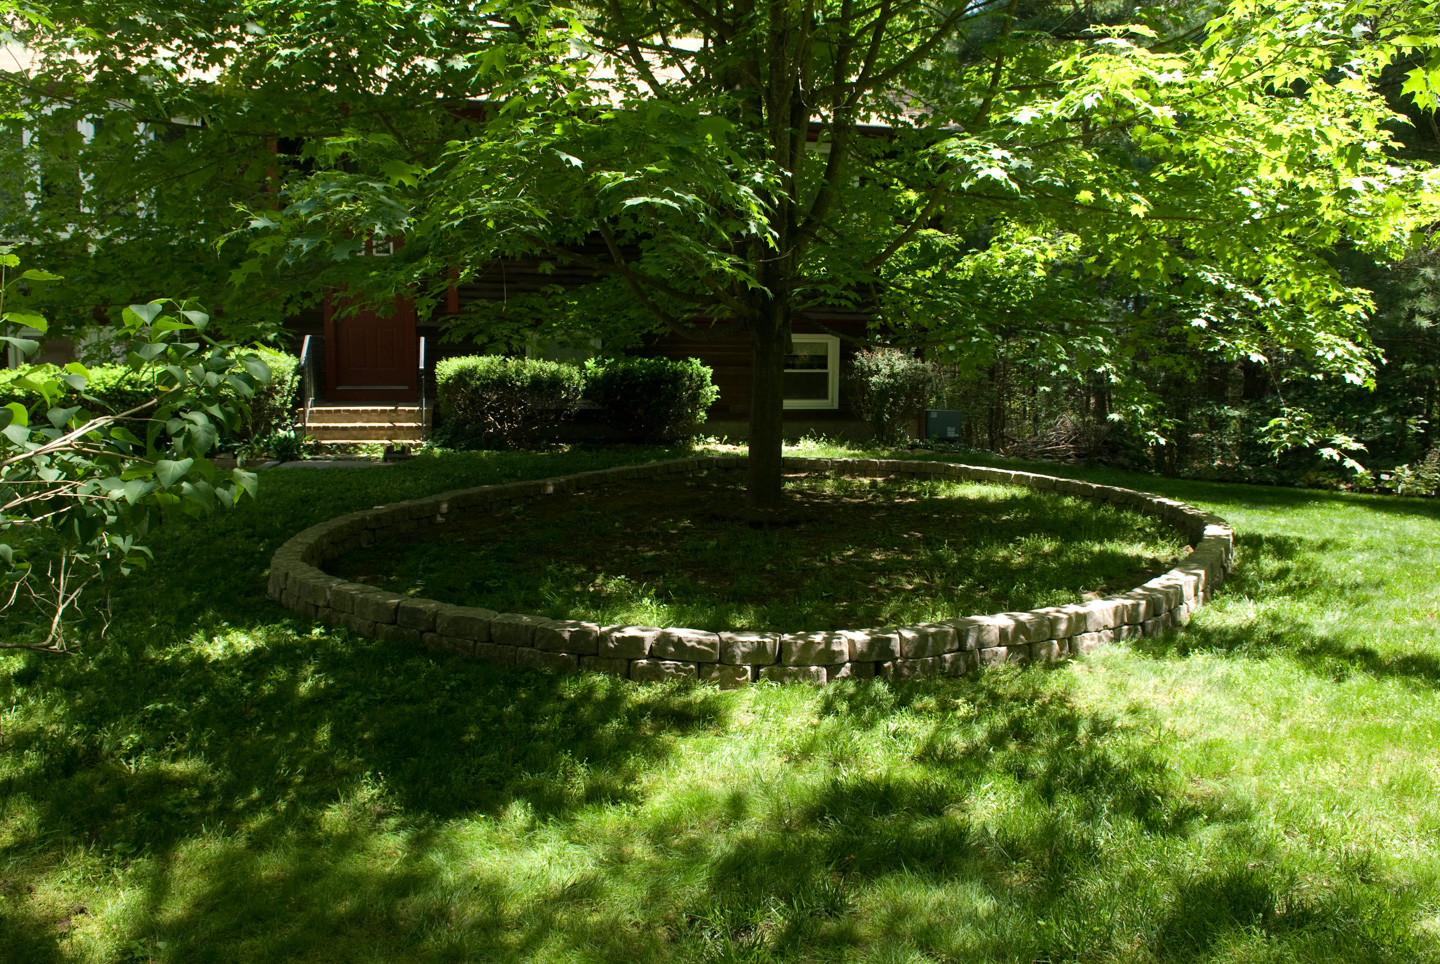
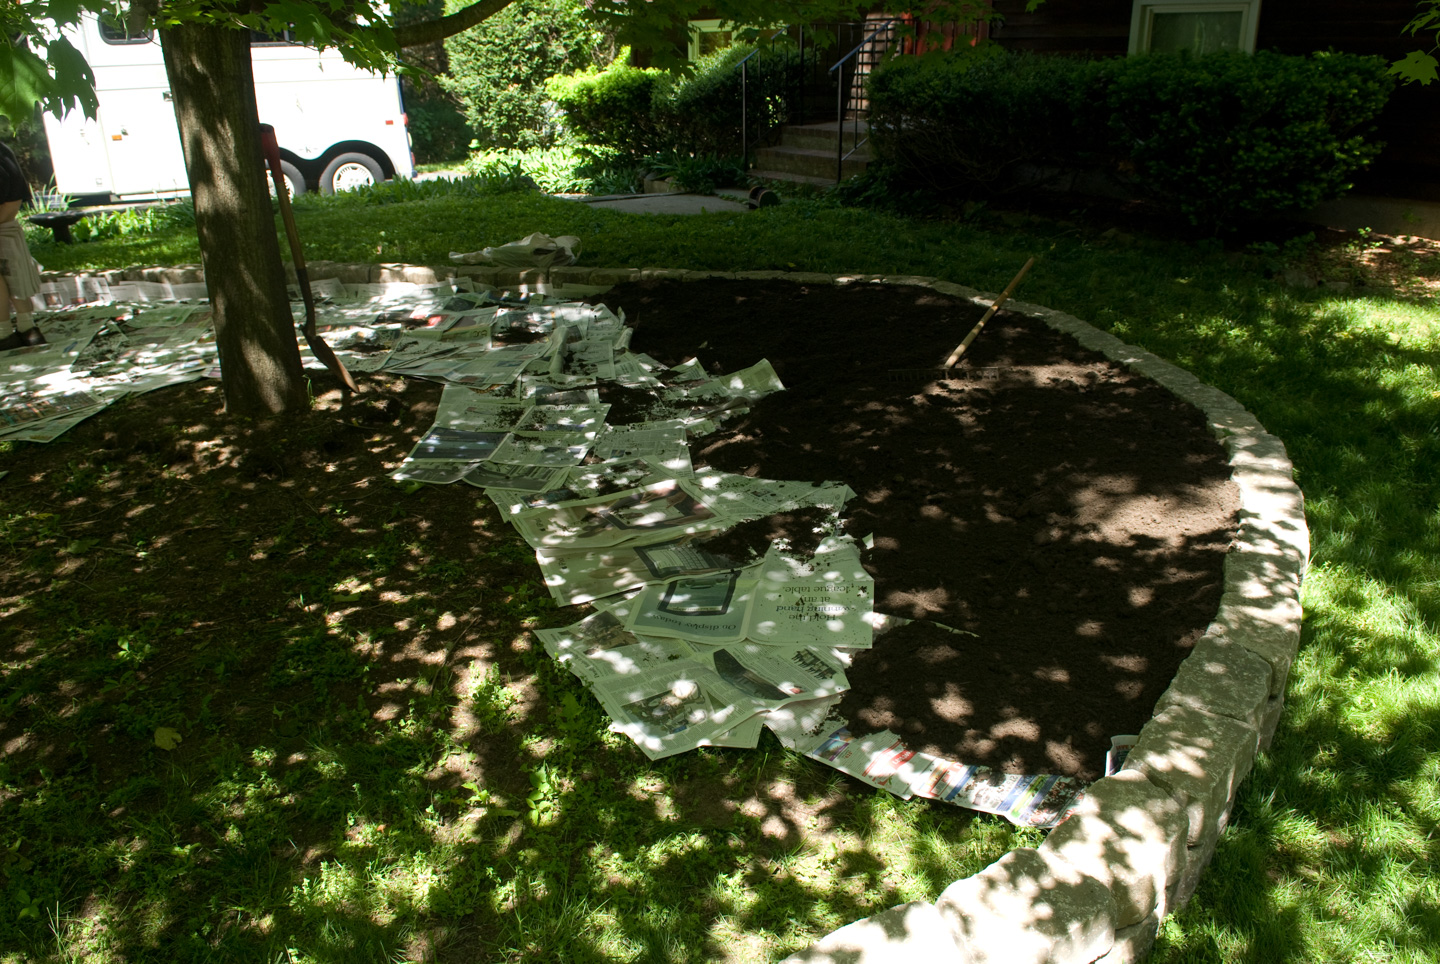
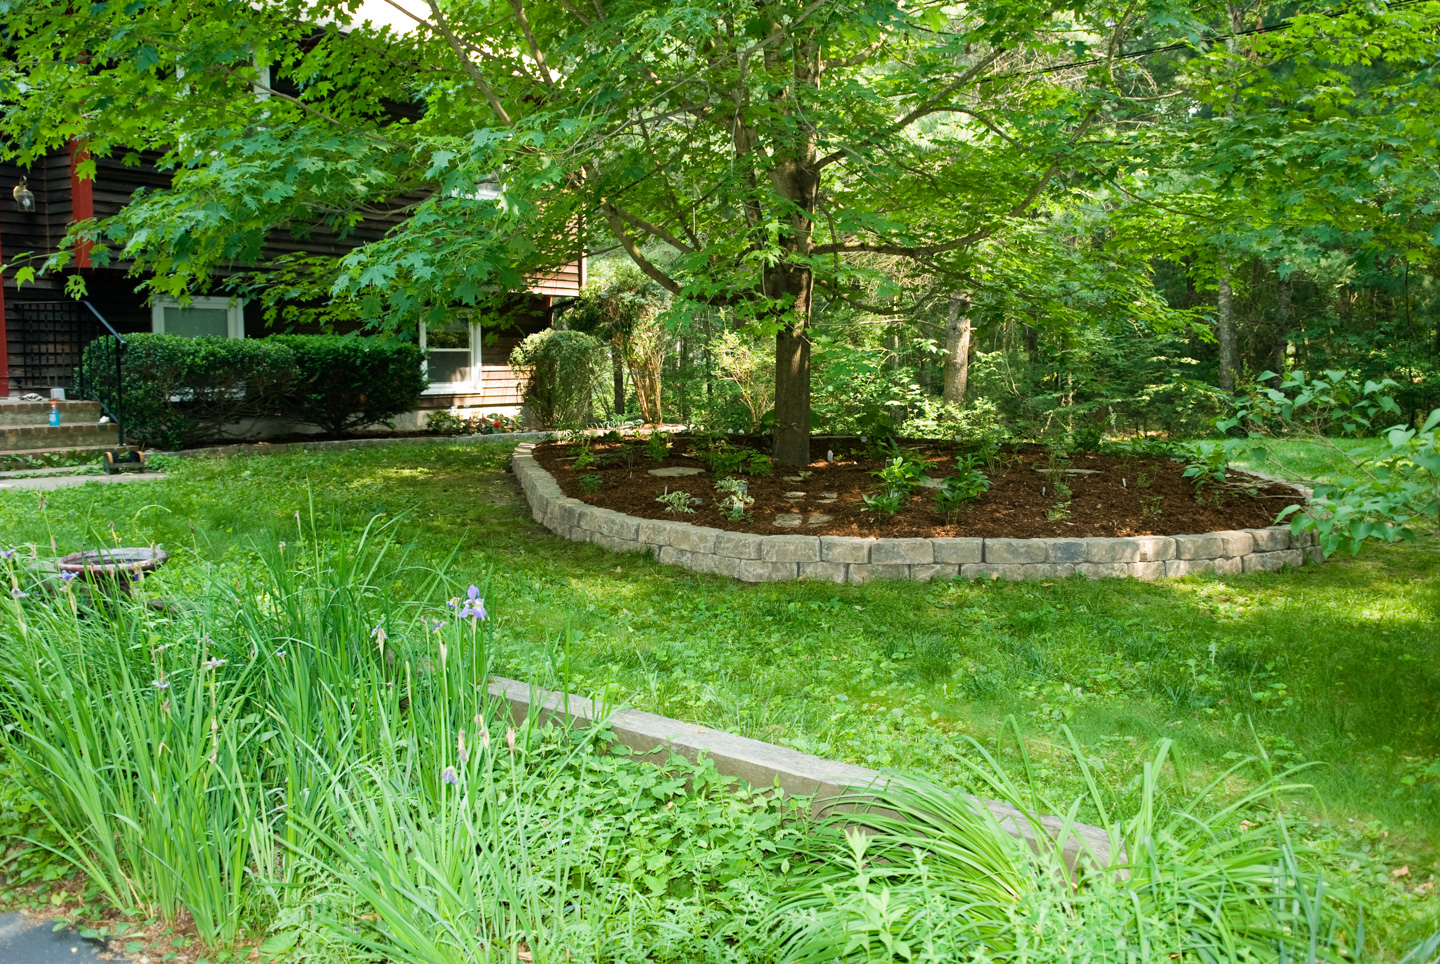
We bought some 'natural look' stones from Lowes. On Saturday afternoon, we laid those out. Paul pulled out his surveying equipment to more easily check out the slope. It was fairly uneven, but Paul was able to minimize the difference between sections. We both laid down the stones. (The pile of stones you see is actually only some of them.)

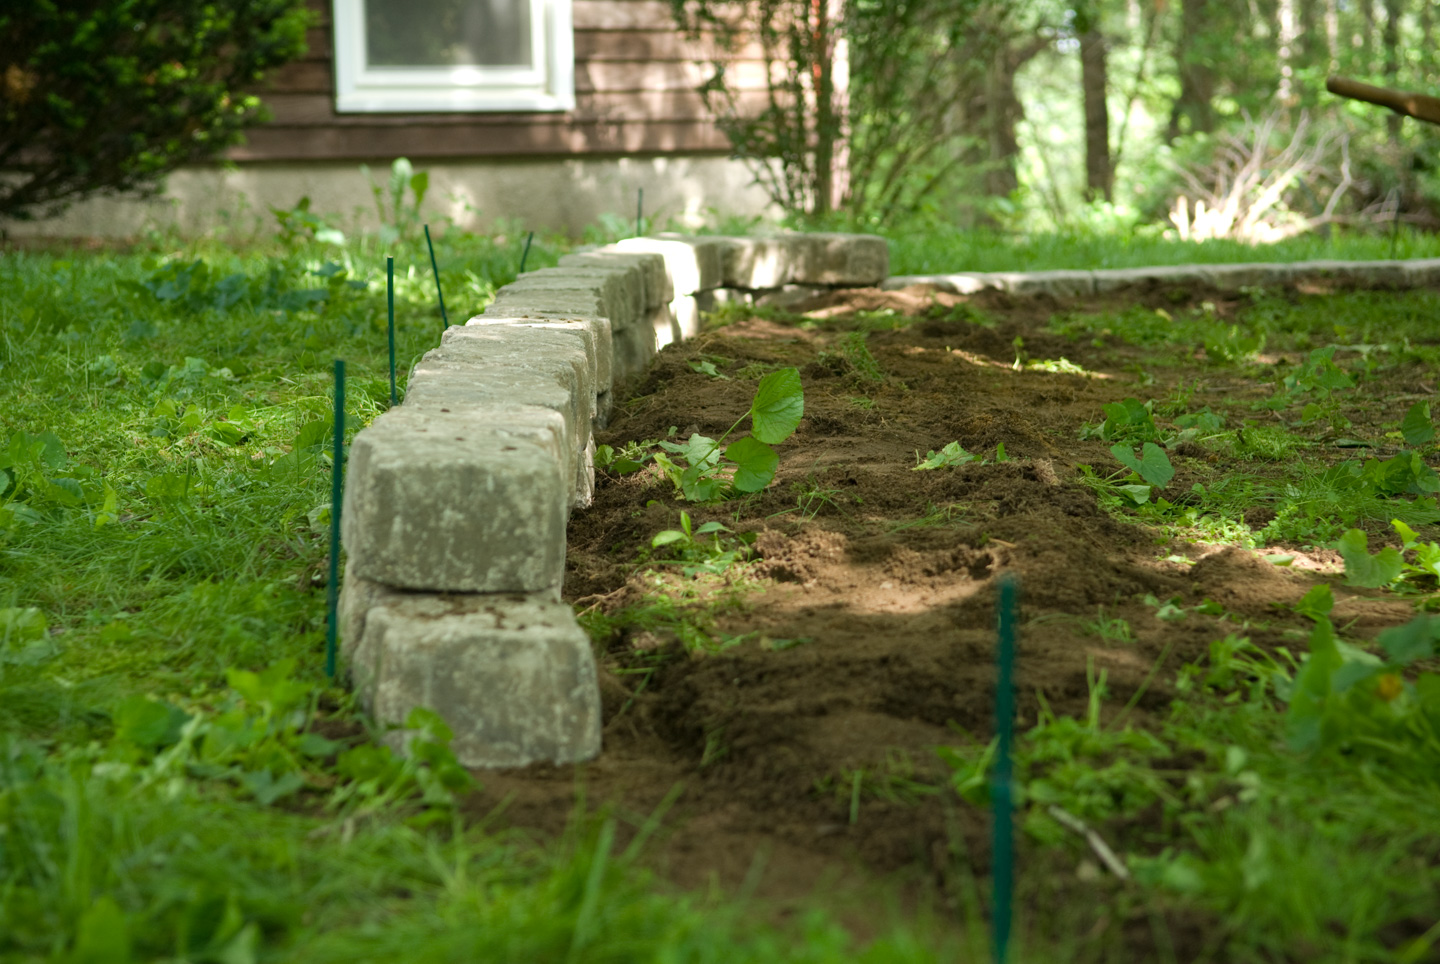
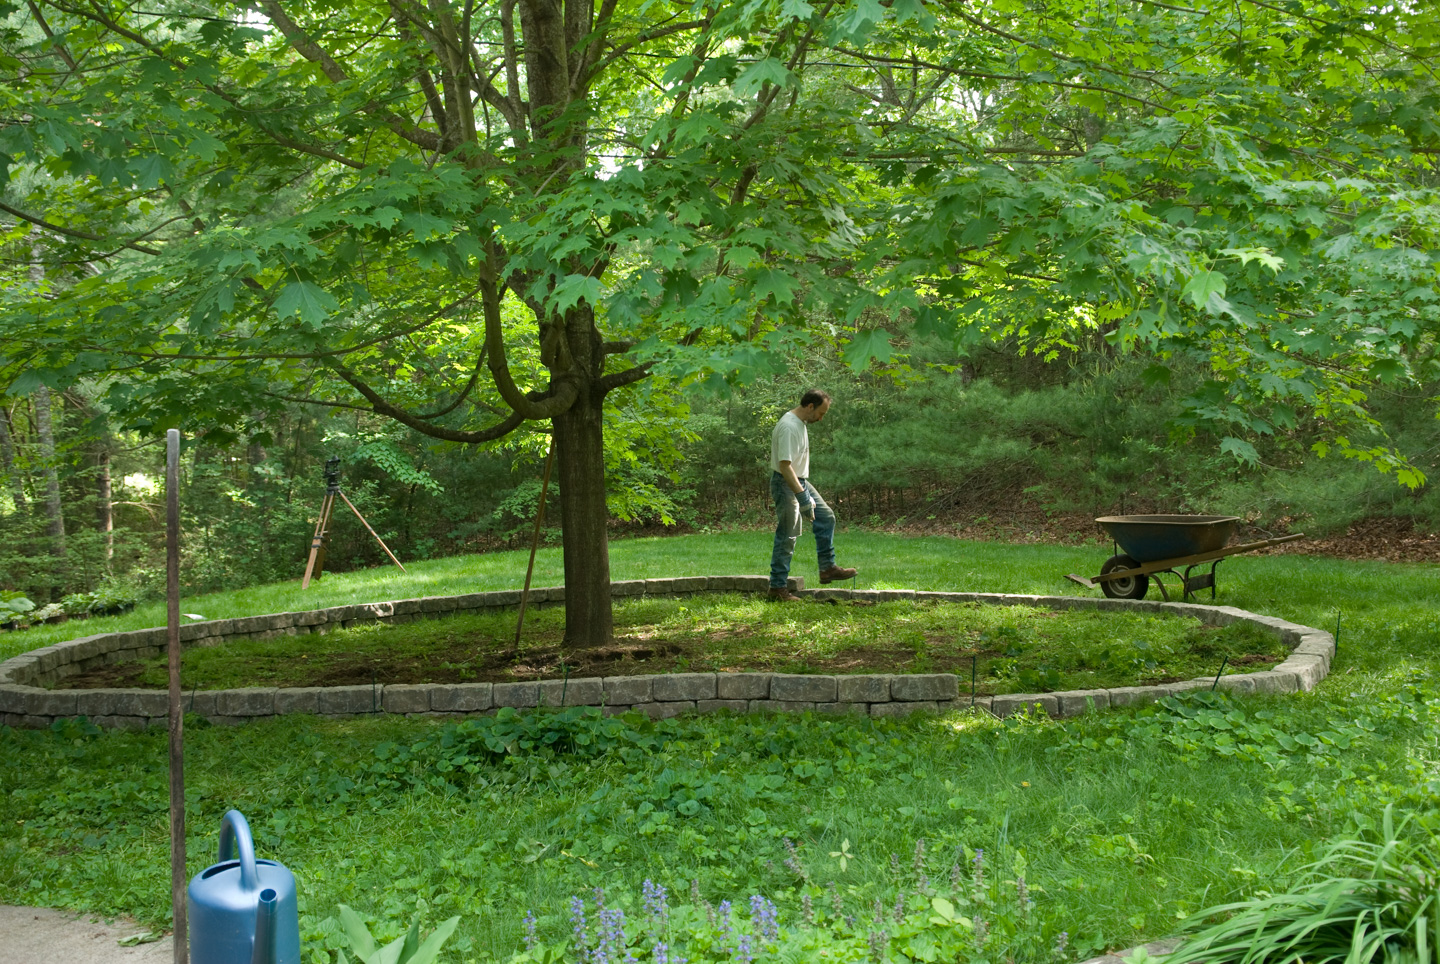
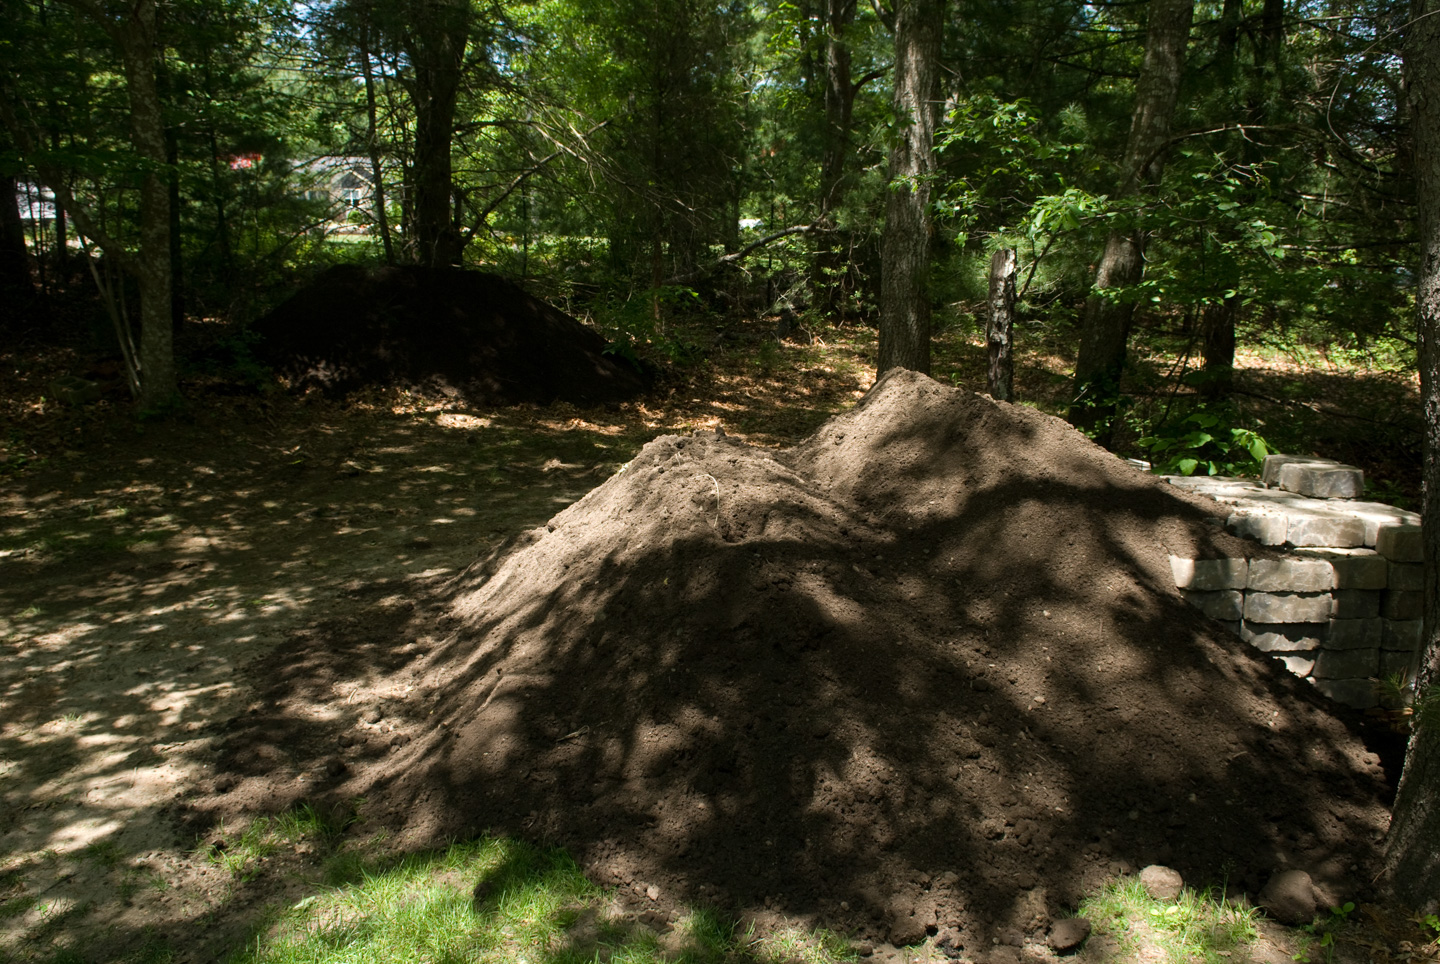
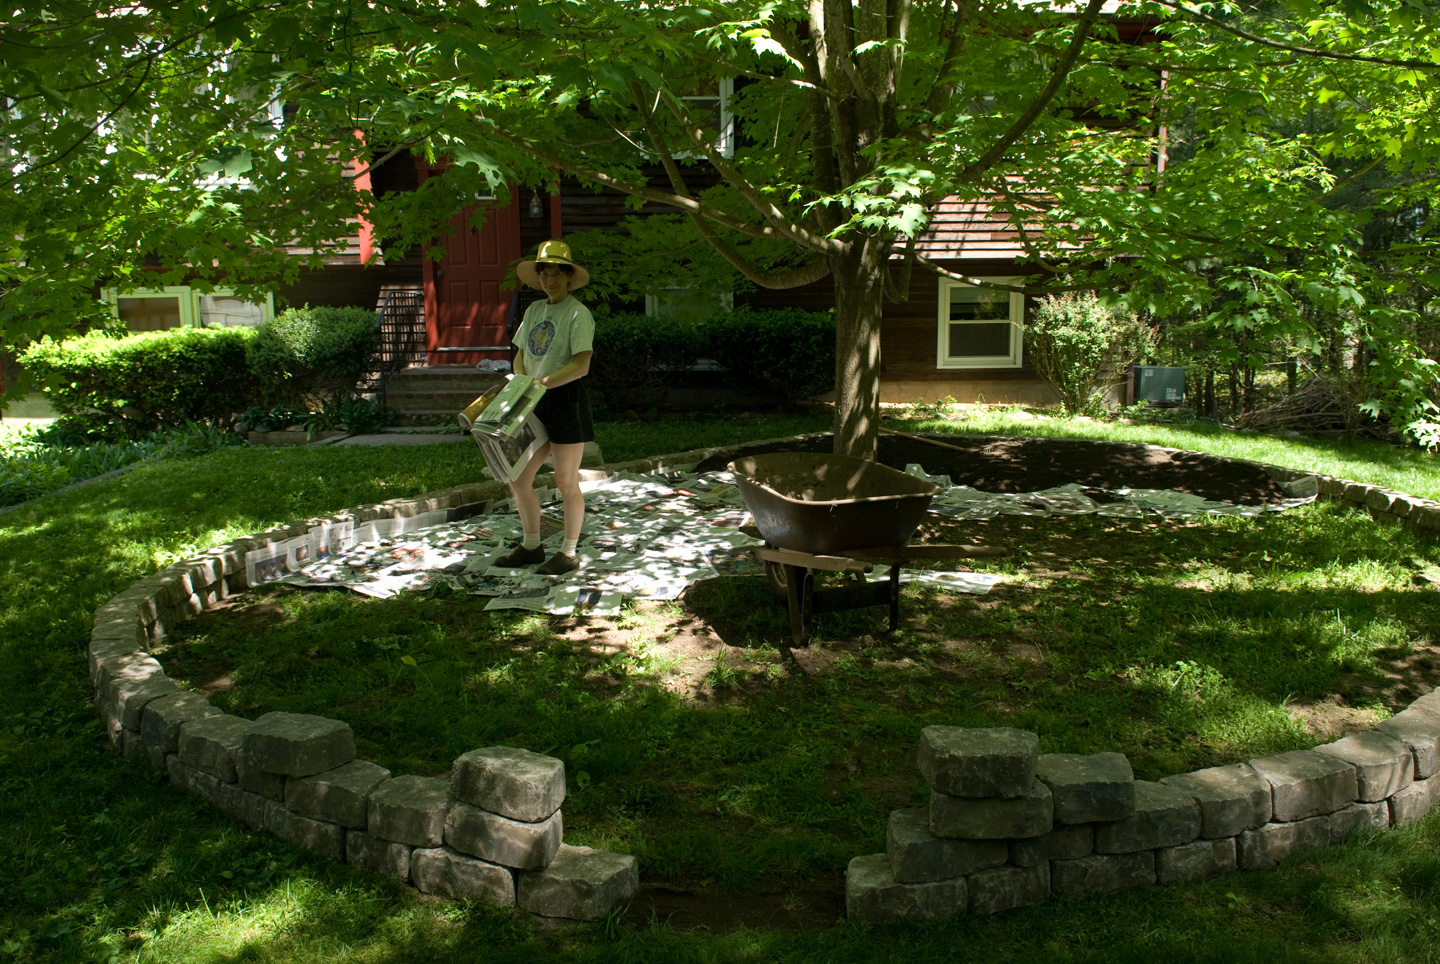
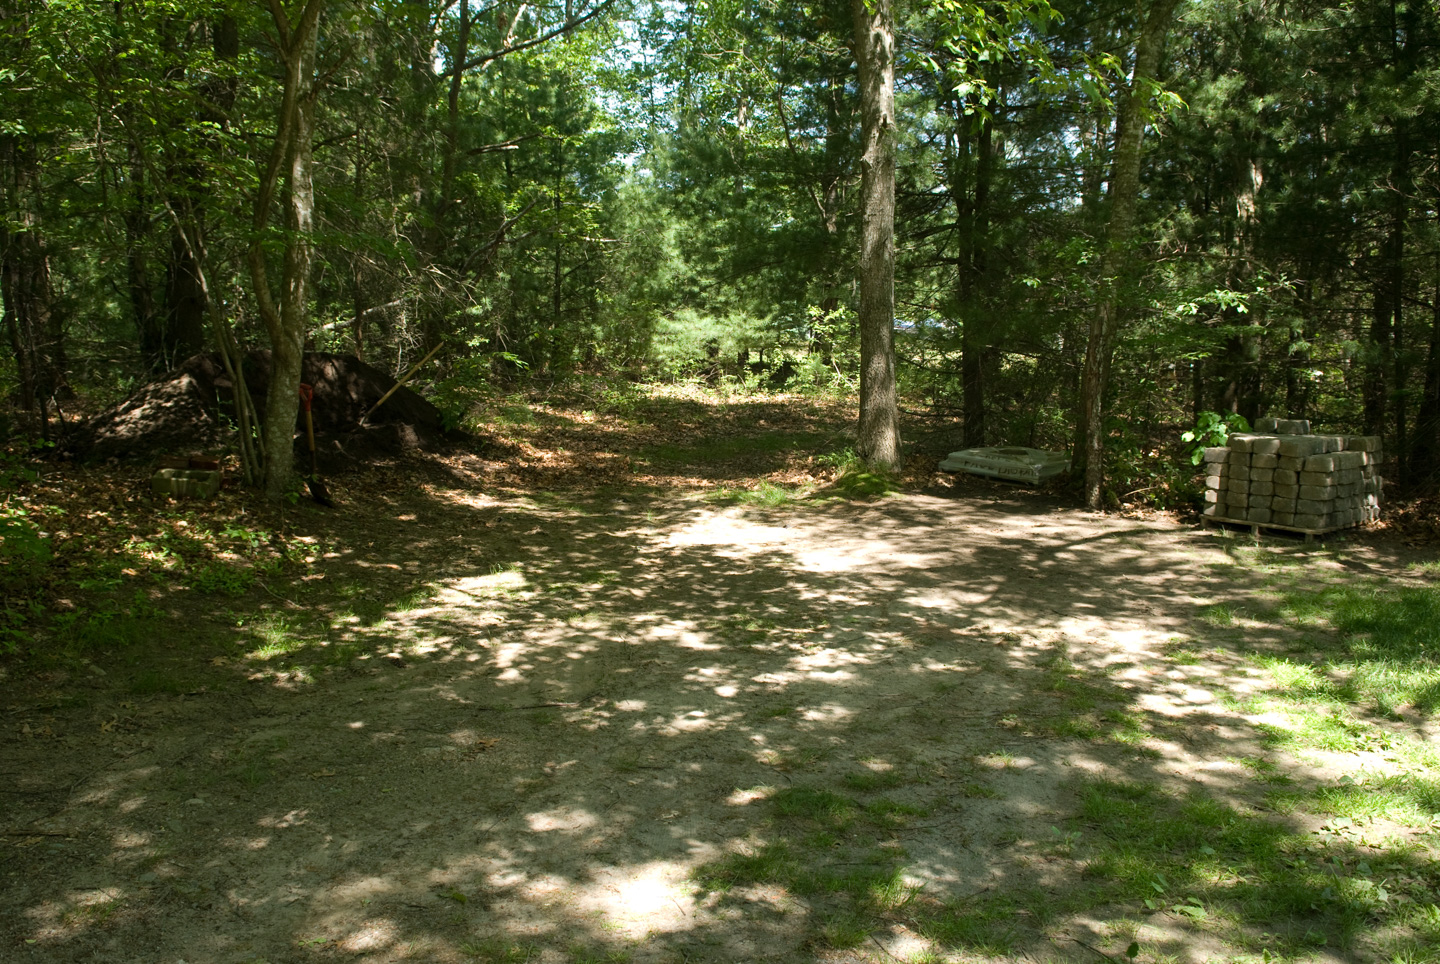
Paul took some days off from work, to create the pallette for my garden. On Monday the dirt was delivered. 14 cubic yards of dirt. We probably needed 10 cubic yards for the shade garden itself. You can see under the dirt extra stones that we got as well (more on that later). I put down newspaper and Paul wheelbarrowed in the dirt. My portion took my lunch break. Paul's took substantially longer than that, as you can probably imagine.
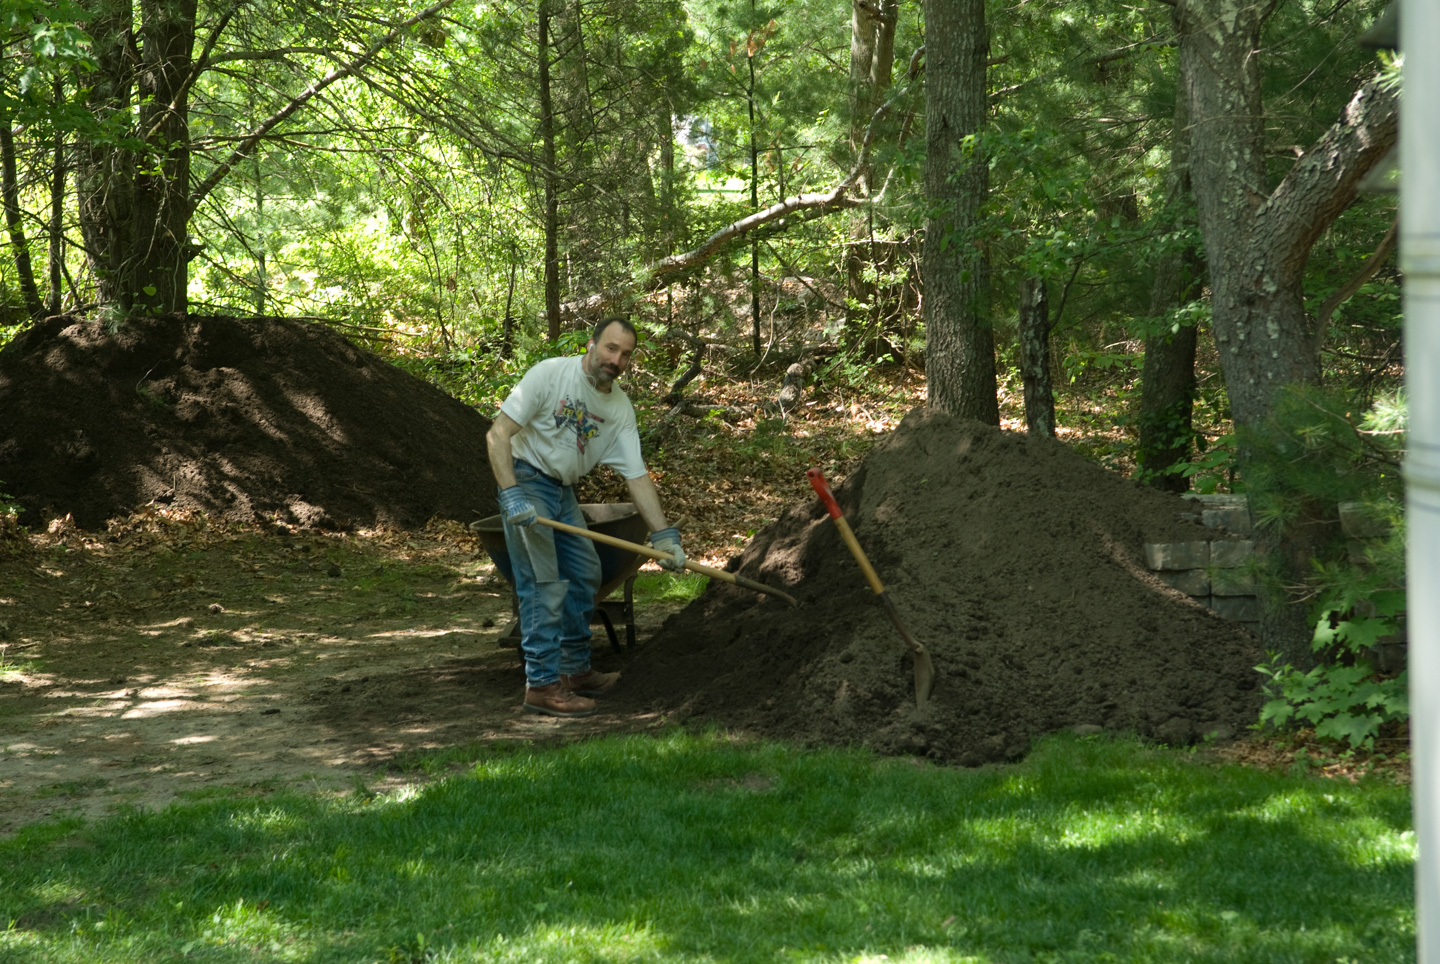
At the end of day 1, Paul had about 2/3 of the dirt in.
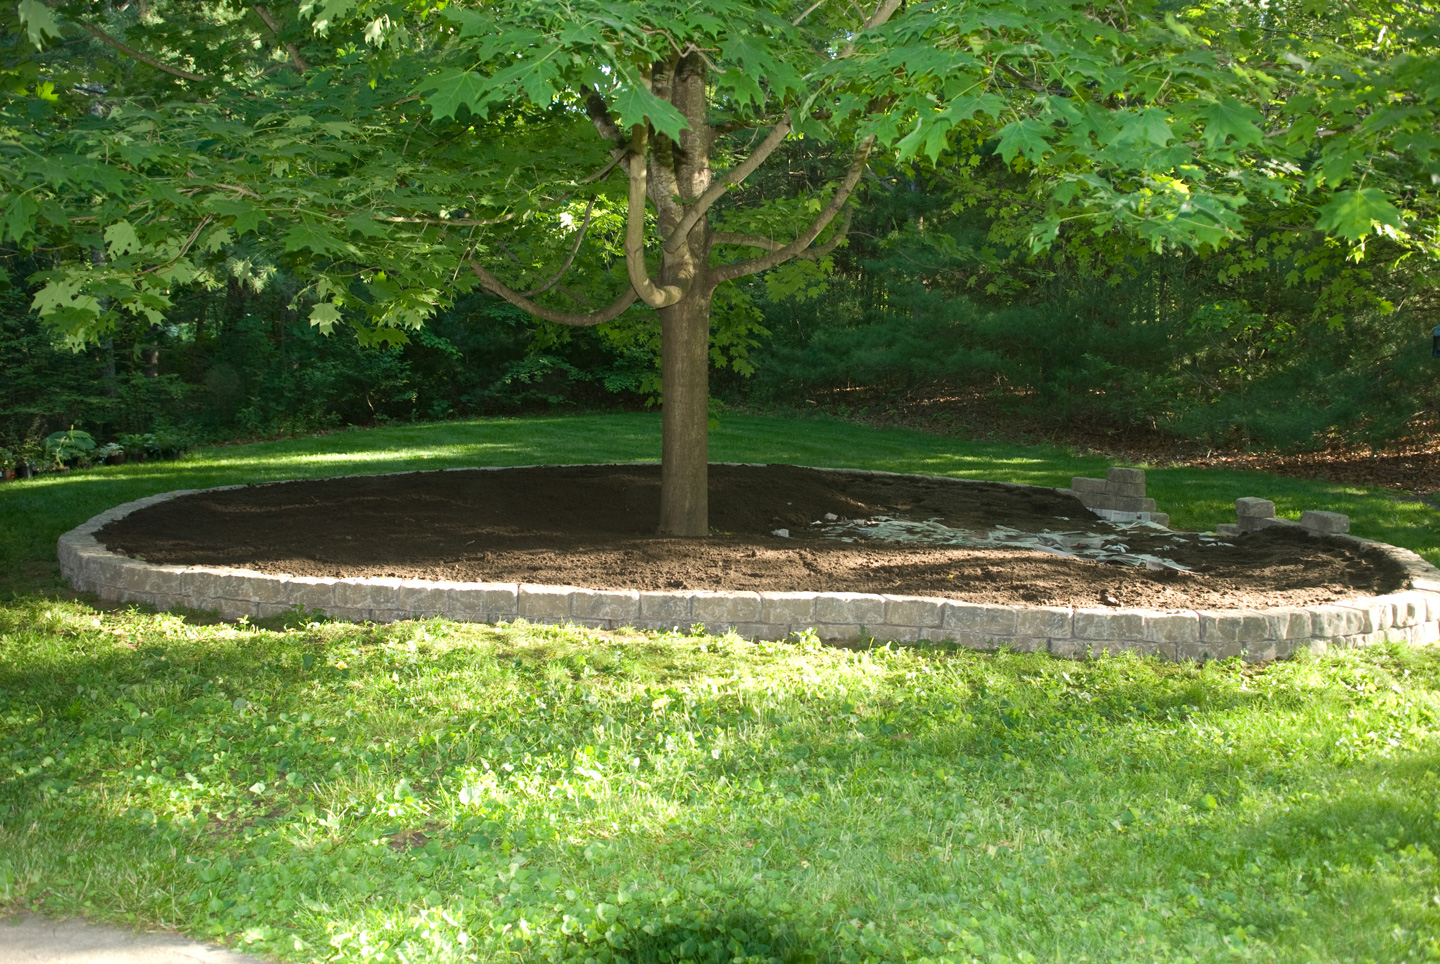
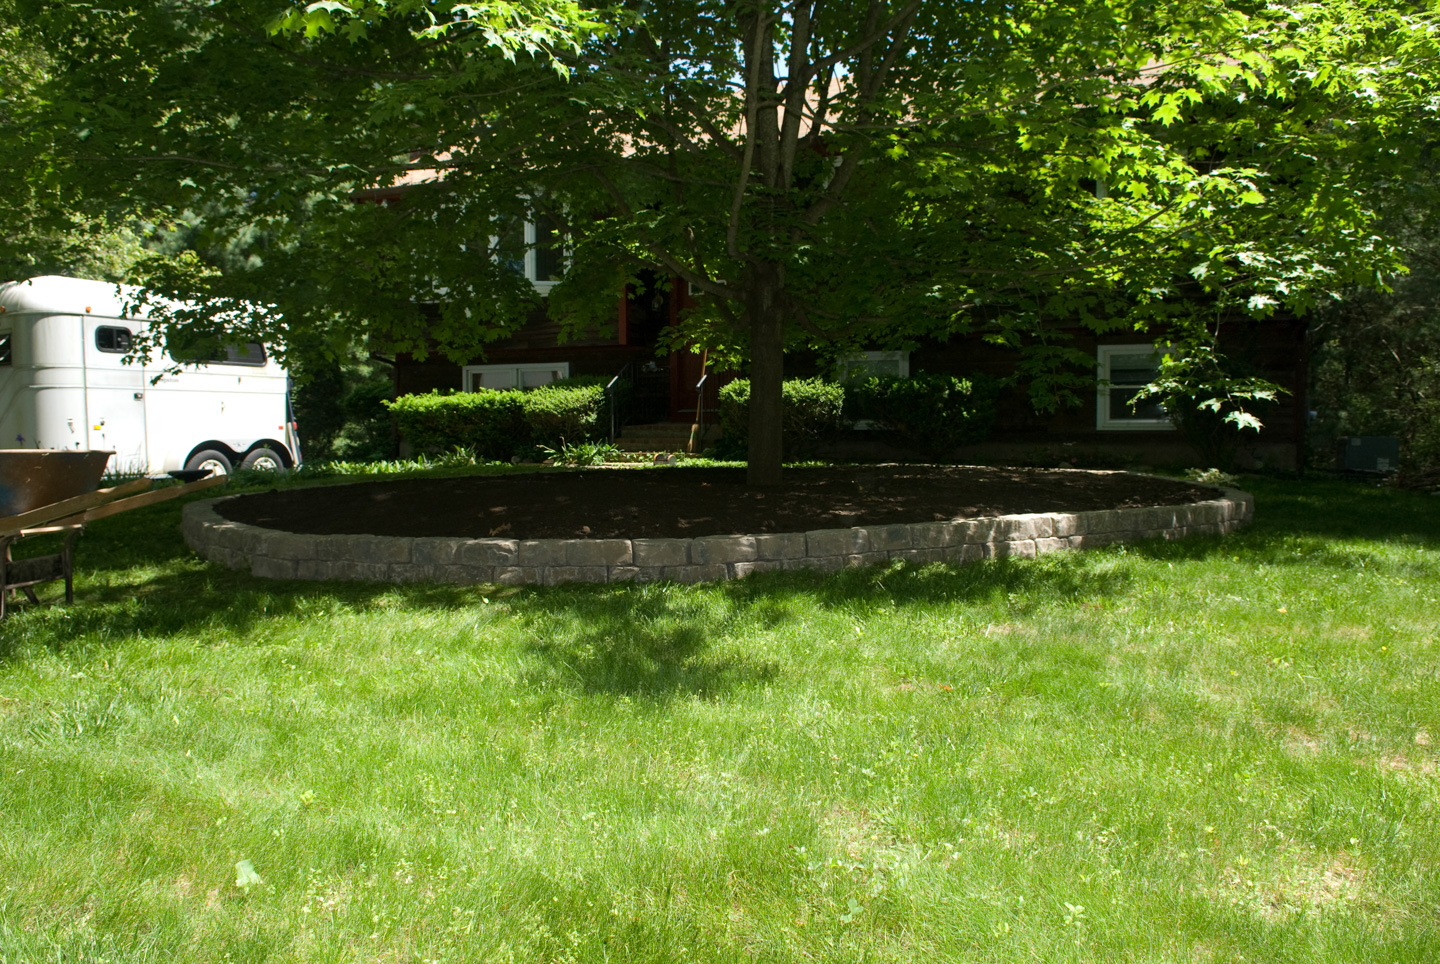
The following morning, Paul had the rest of the dirt in the garden area. You can see the entire right pile of dirt is gone, and some of the left pile.
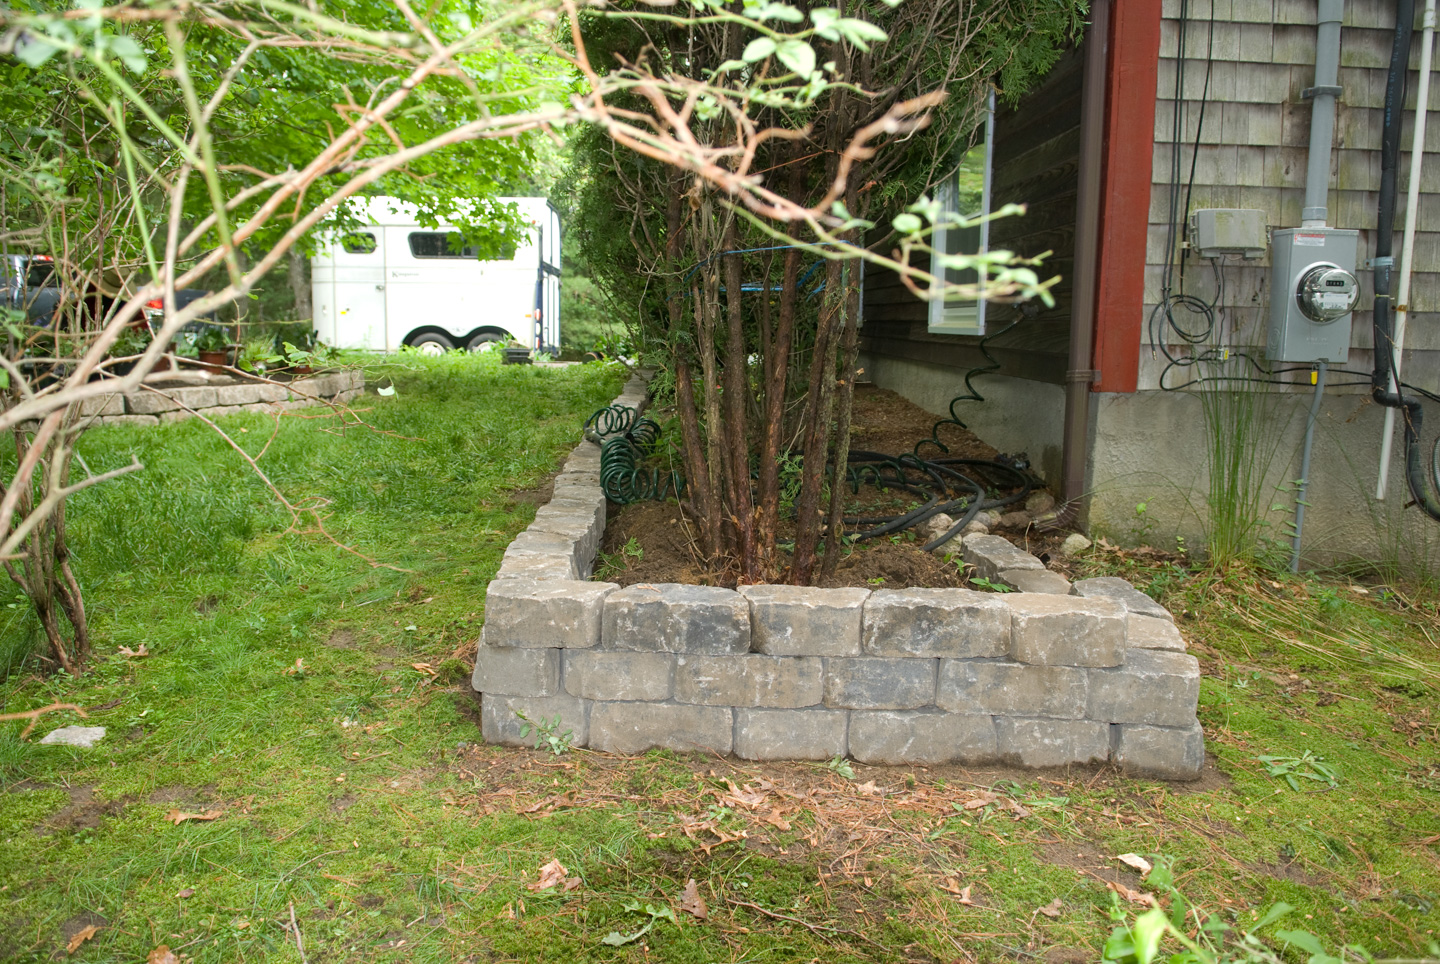
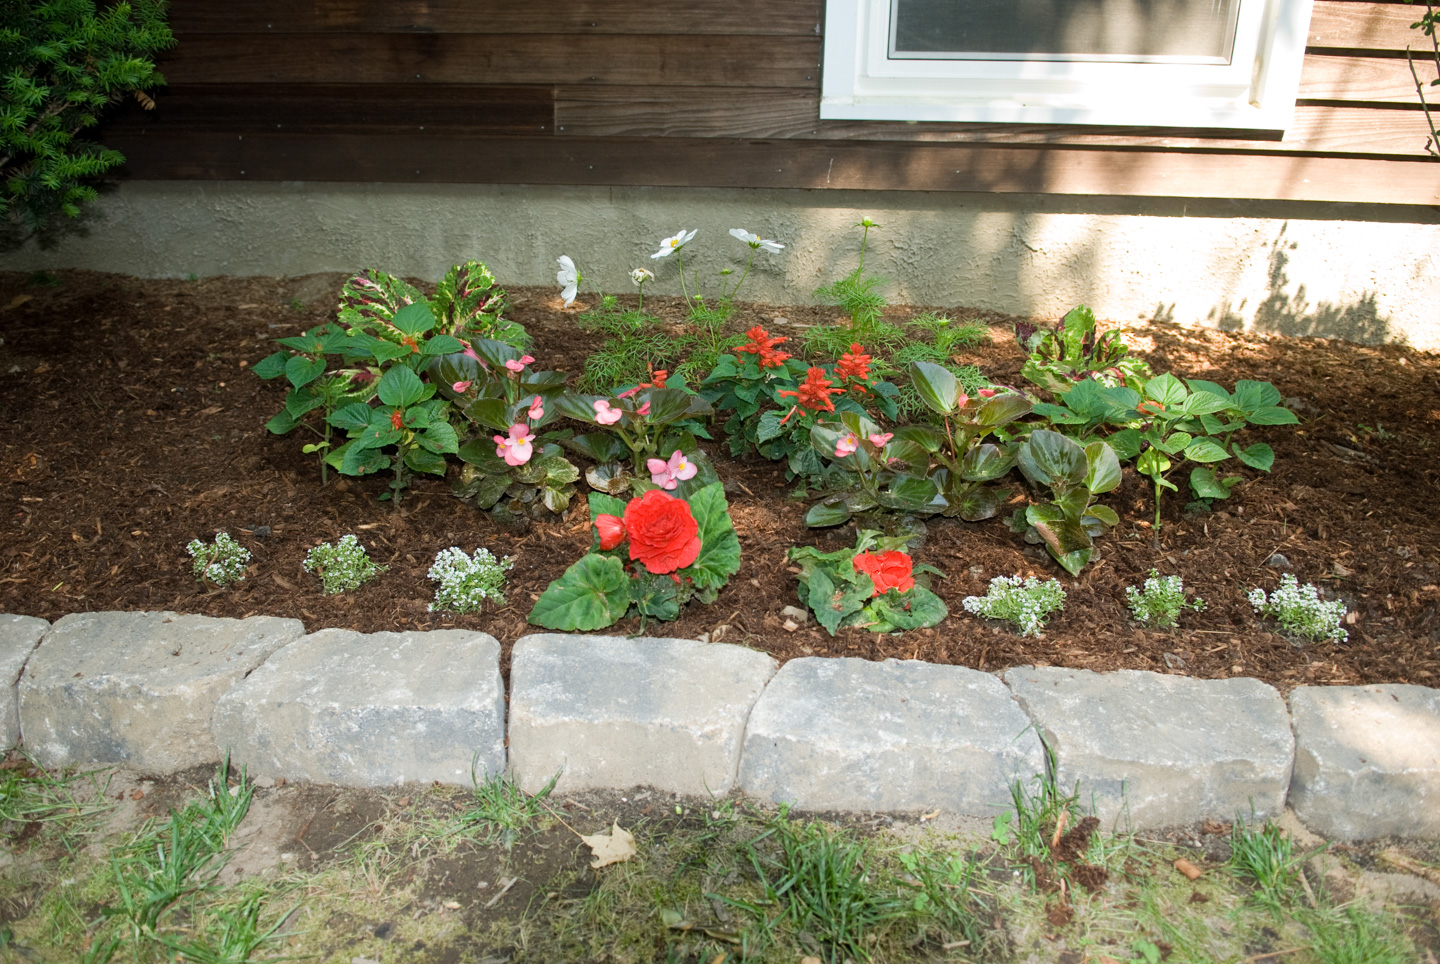
Paul didn't want to get bored, so he then lined up two additional projects for himself. The shrubs next to the house had random stones in front of it.
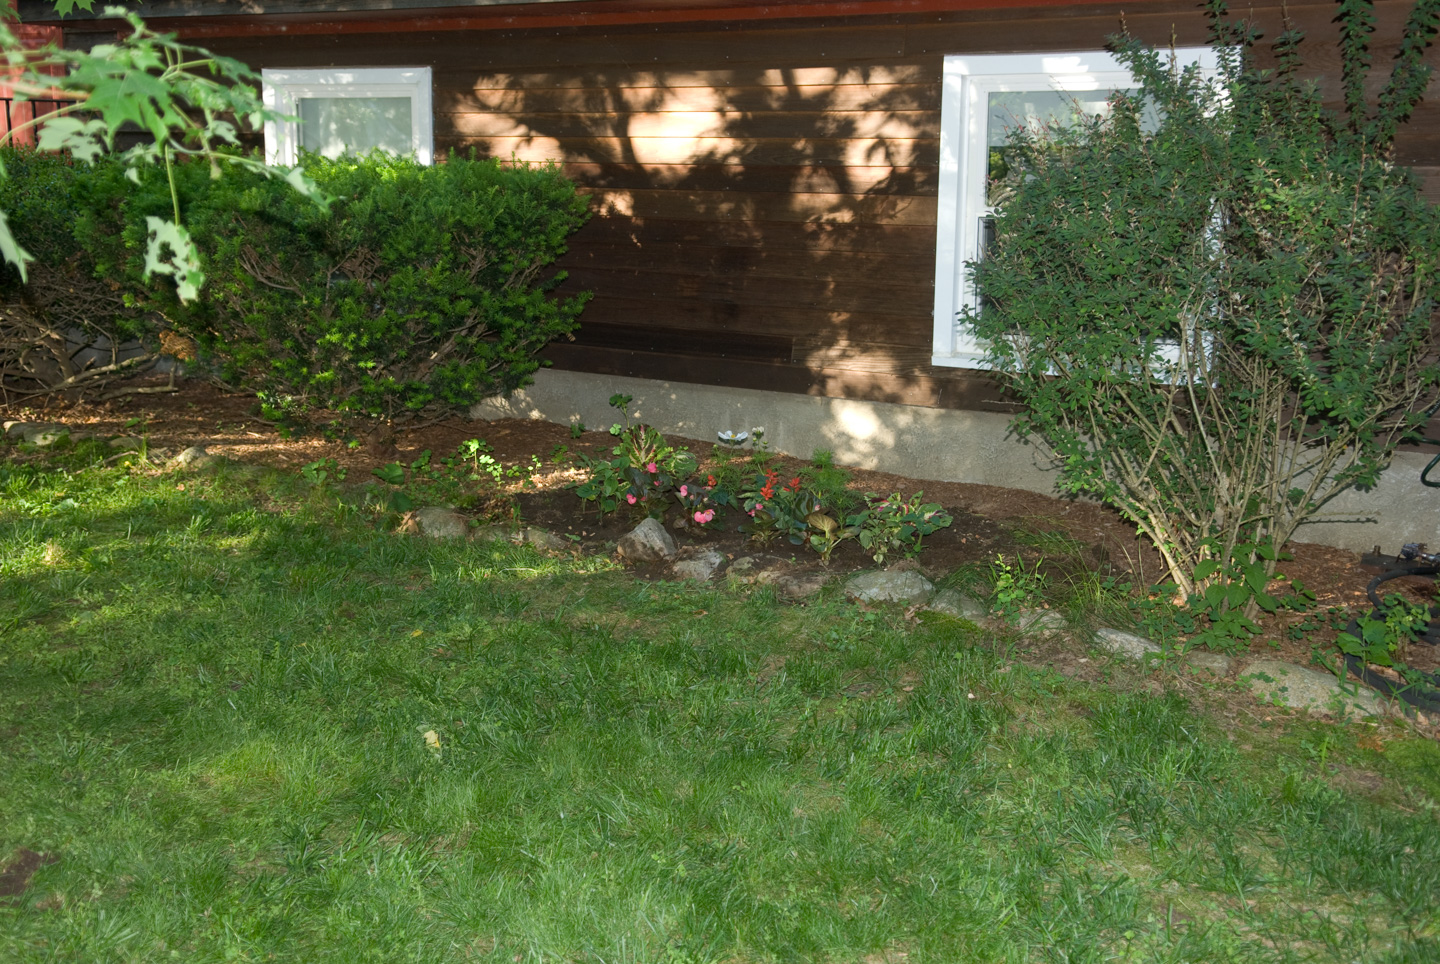
So he replaced those with the same stones that are around the shade garden. This gives the front yard a very nice look.
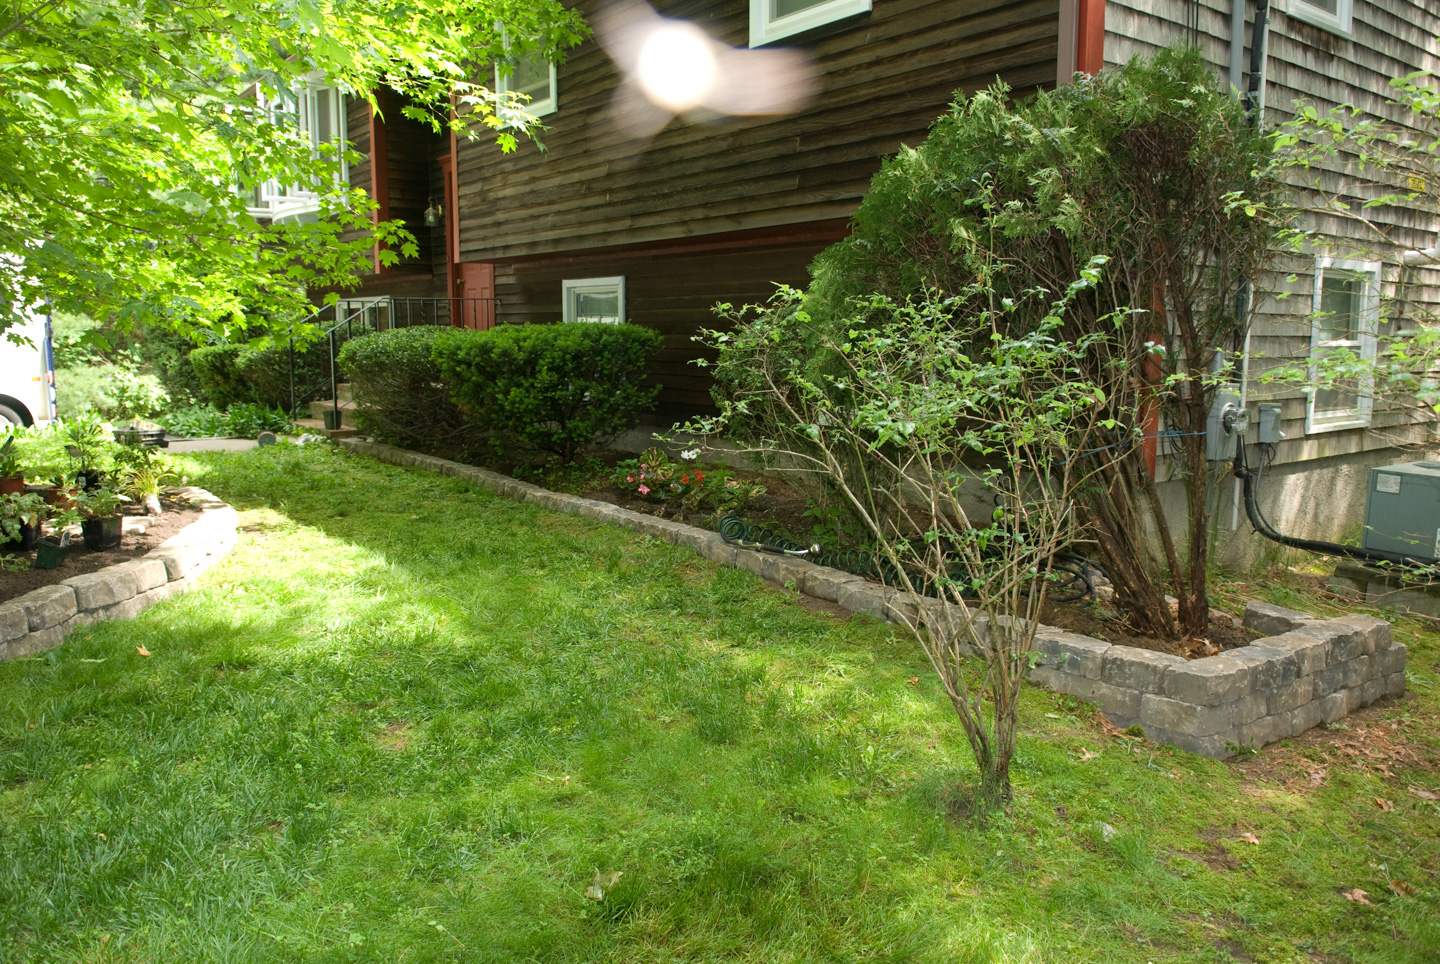
Here is a picture later in the week, after I added some plants in the extended area, and we put mulch down:
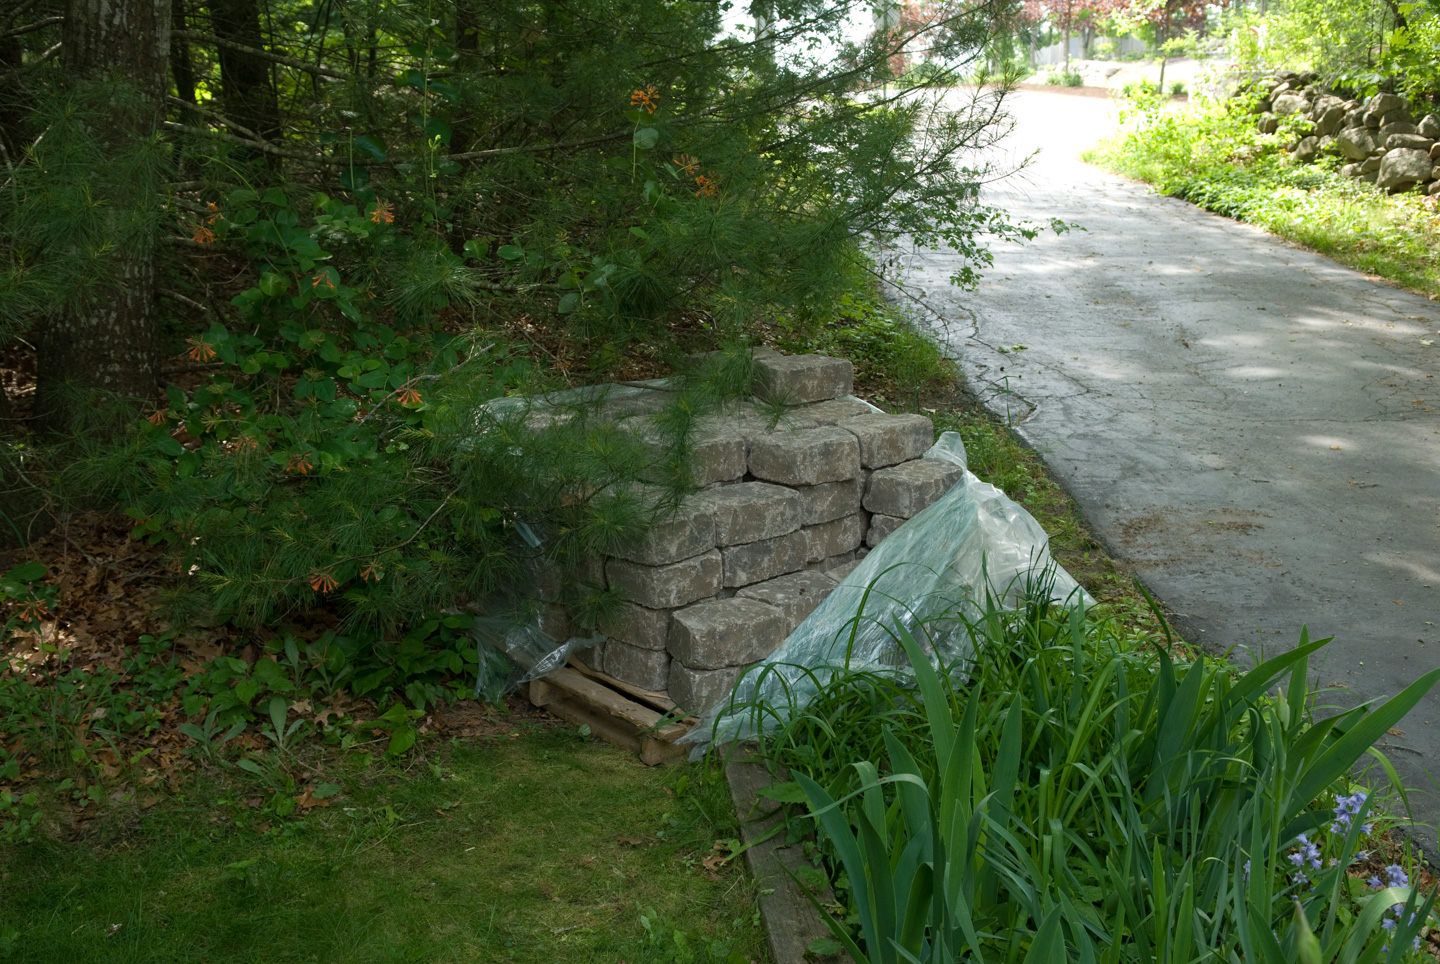
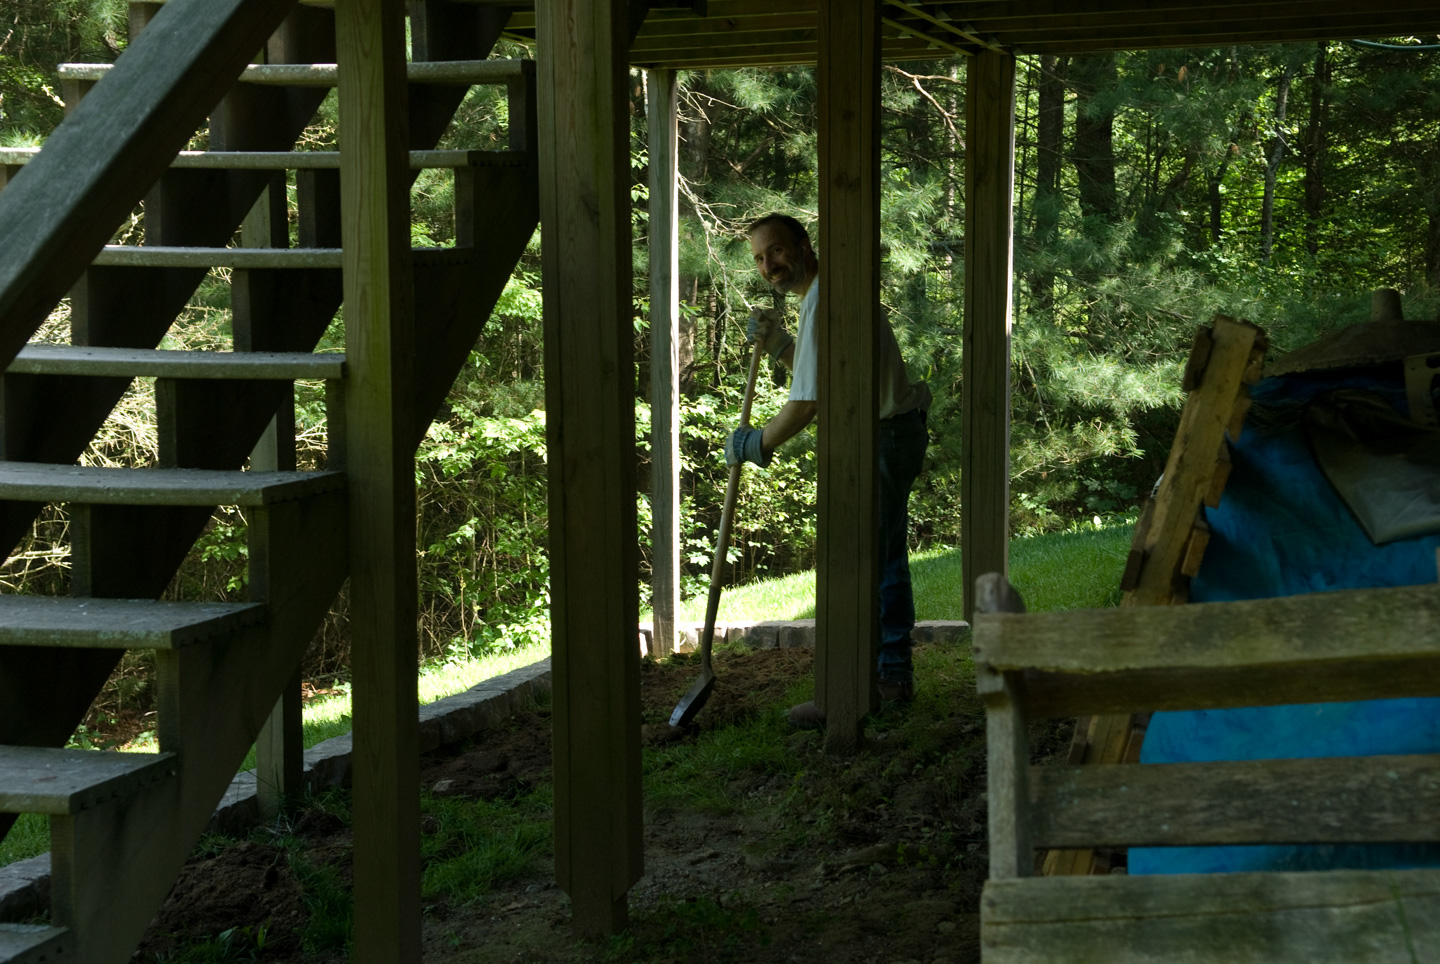
In back of the house, under the deck, is another area where he put a wall and dirt. Between these 3 locations, every single one of the stones we bought (280 of the wall stones) was used, and we had exactly enough.
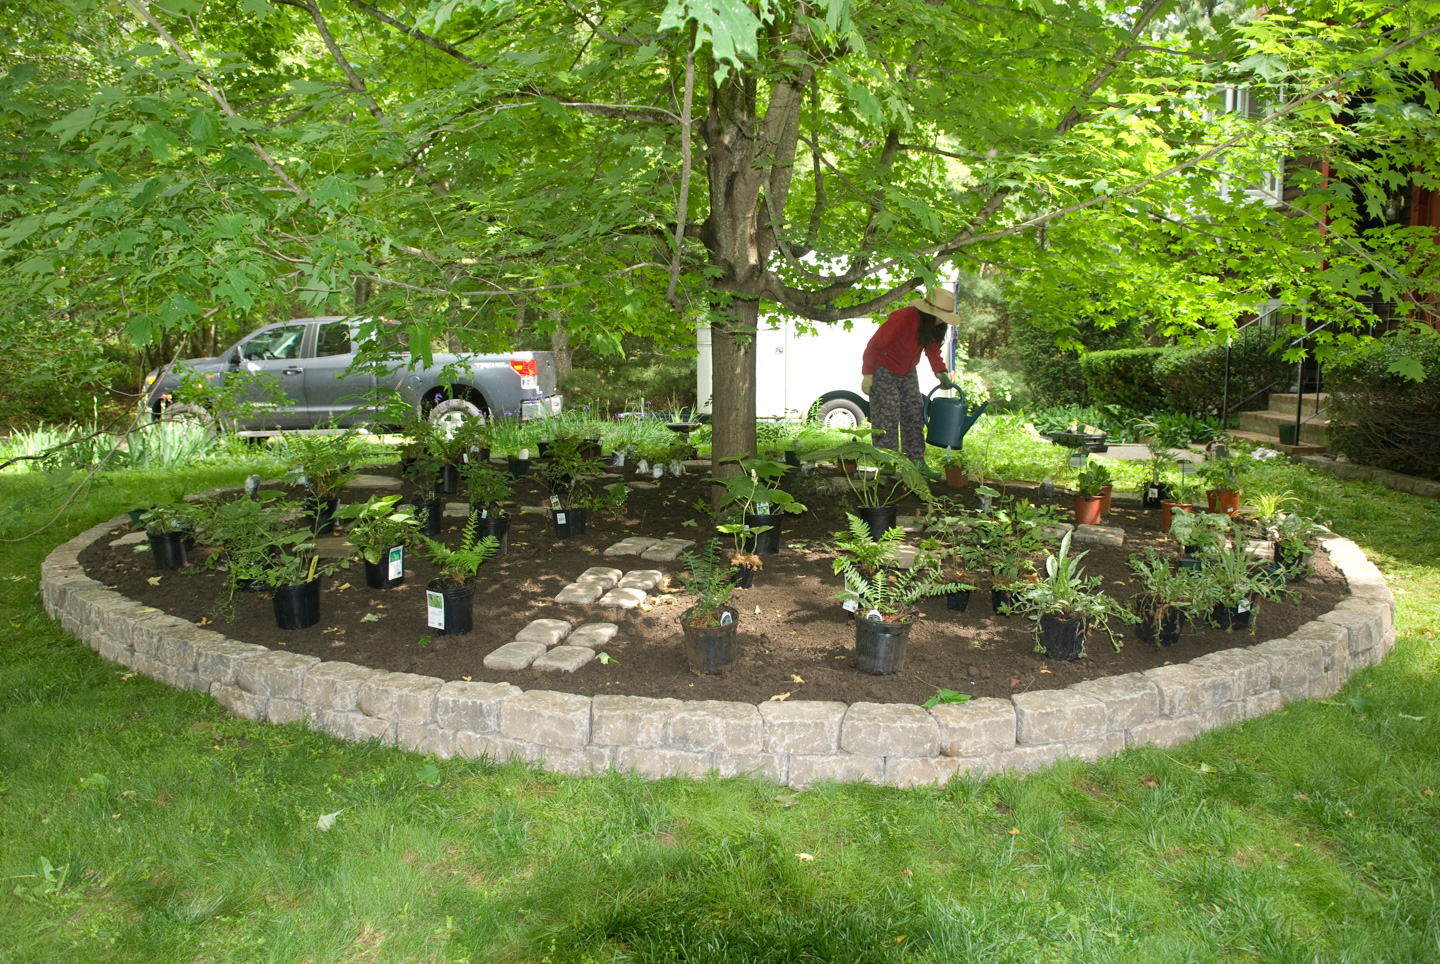
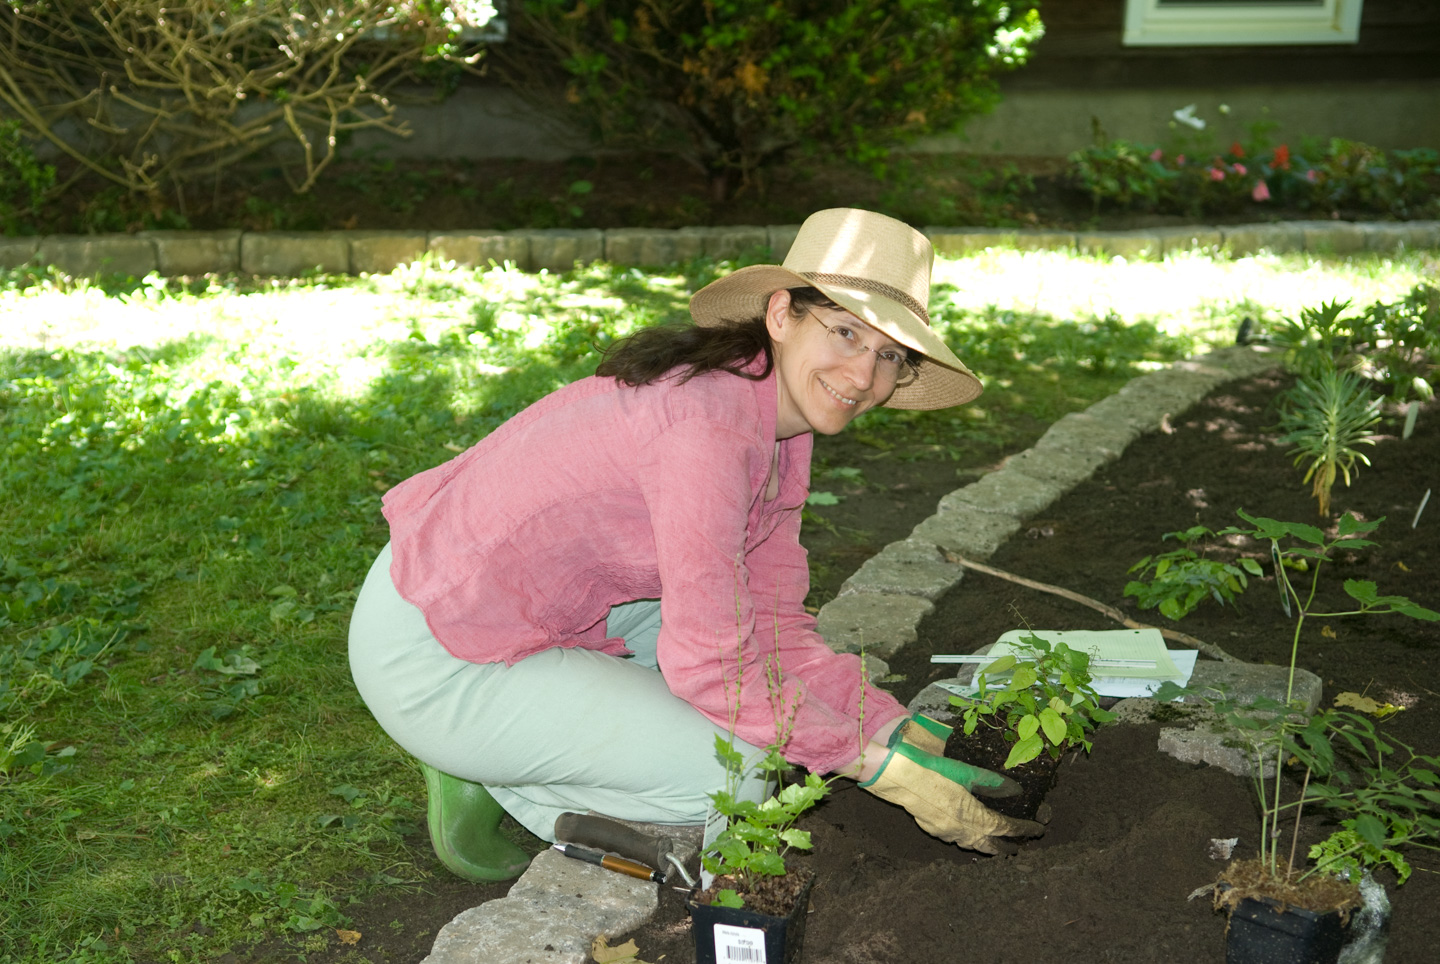
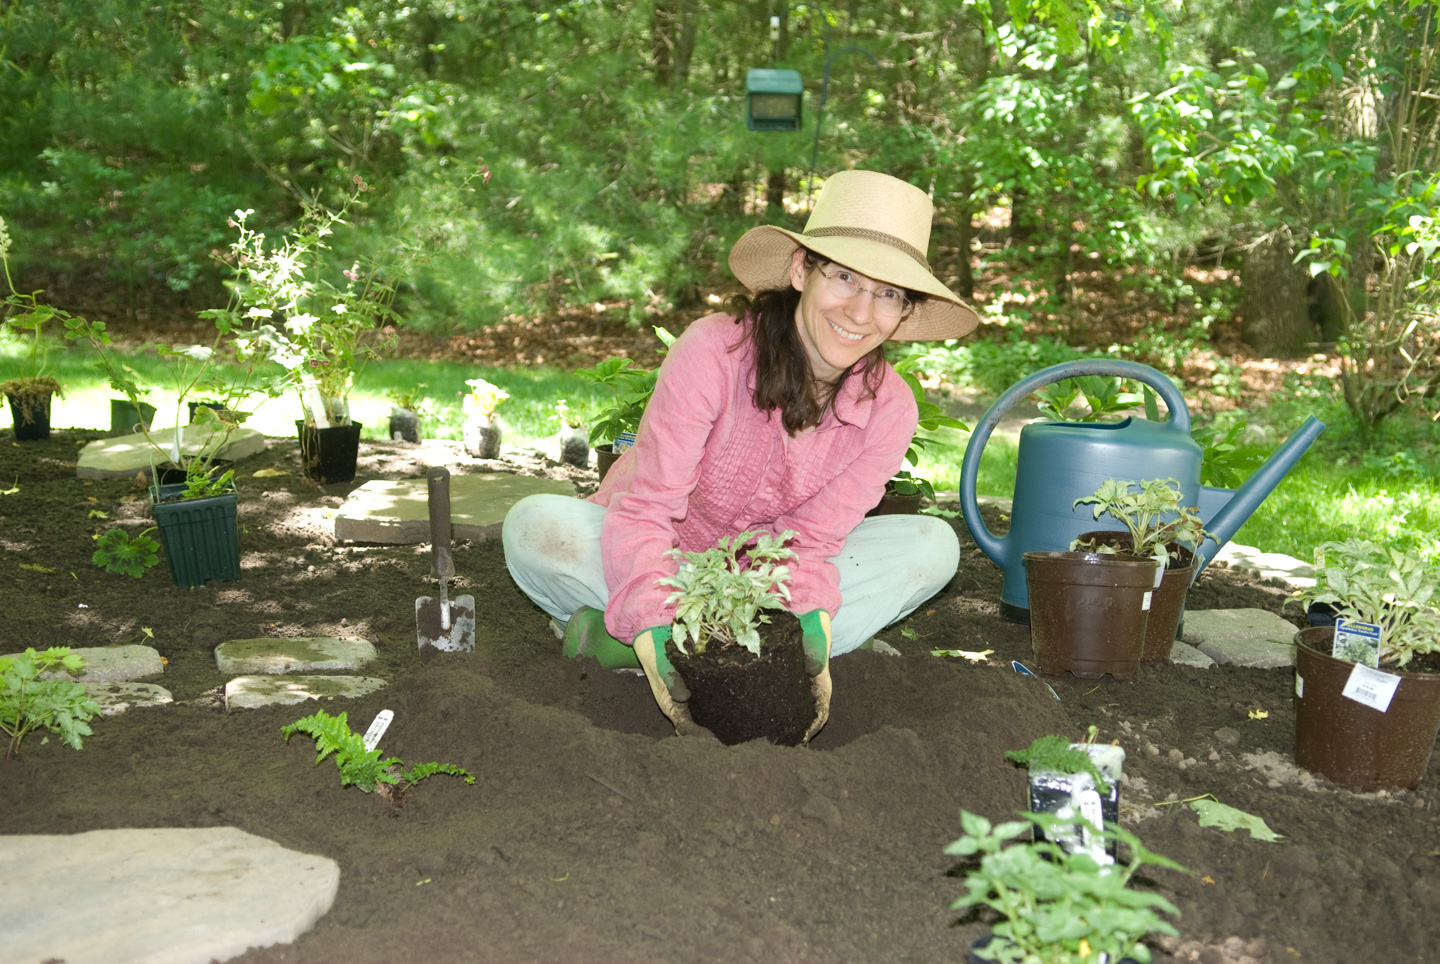
I took Thursday and Friday off, and planted. It was chilly in the morning, so I had to wear warmer clothing. You can see that I have put all the plants in their approximate positions. I then had to meaure out the mature size of the plants to determine where to actually dig my holes.
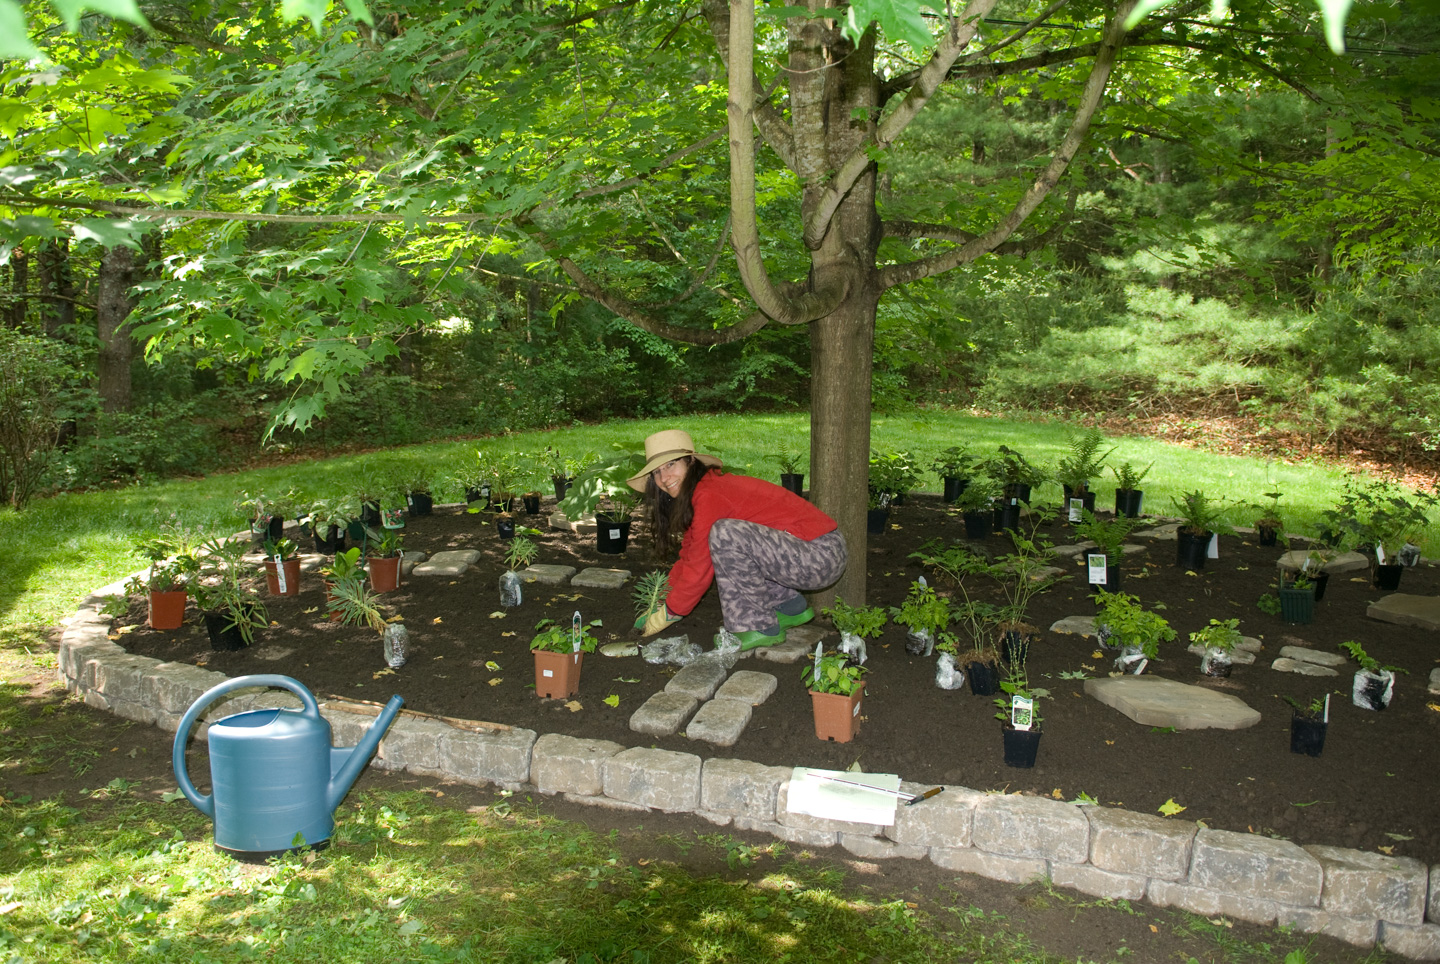
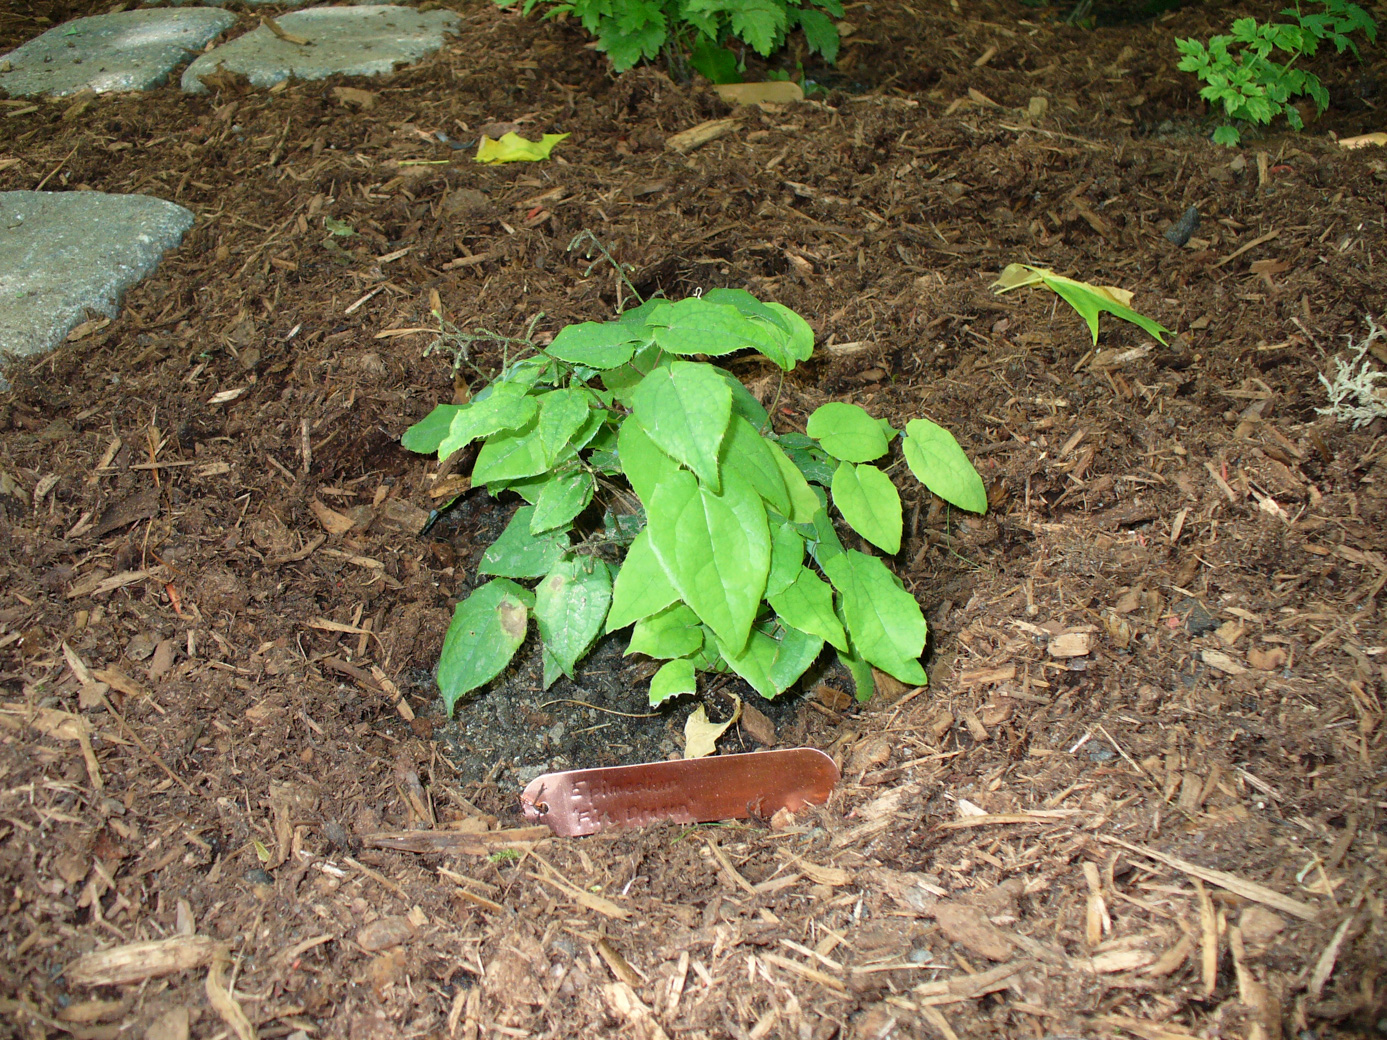
Even after it warmed up, I had to wear long sleeves, long pants, and my hat. This is otherwise known as bug protection. The mosquitoes were a terror. With my clothing and a small about of bug spray on my back, though, I was all set. (Hats are really good bug protection.) Here I am planting an Epimedium 'Fire Dragon' and a Helleborus argutifolius 'Pacific Frost'.
This past weekend, we put down mulch. I initially put in the tags that came with the plants, but have replaced them with copper name plates. And so, without further ado, here are pictures of the finished product (except some of the tags).
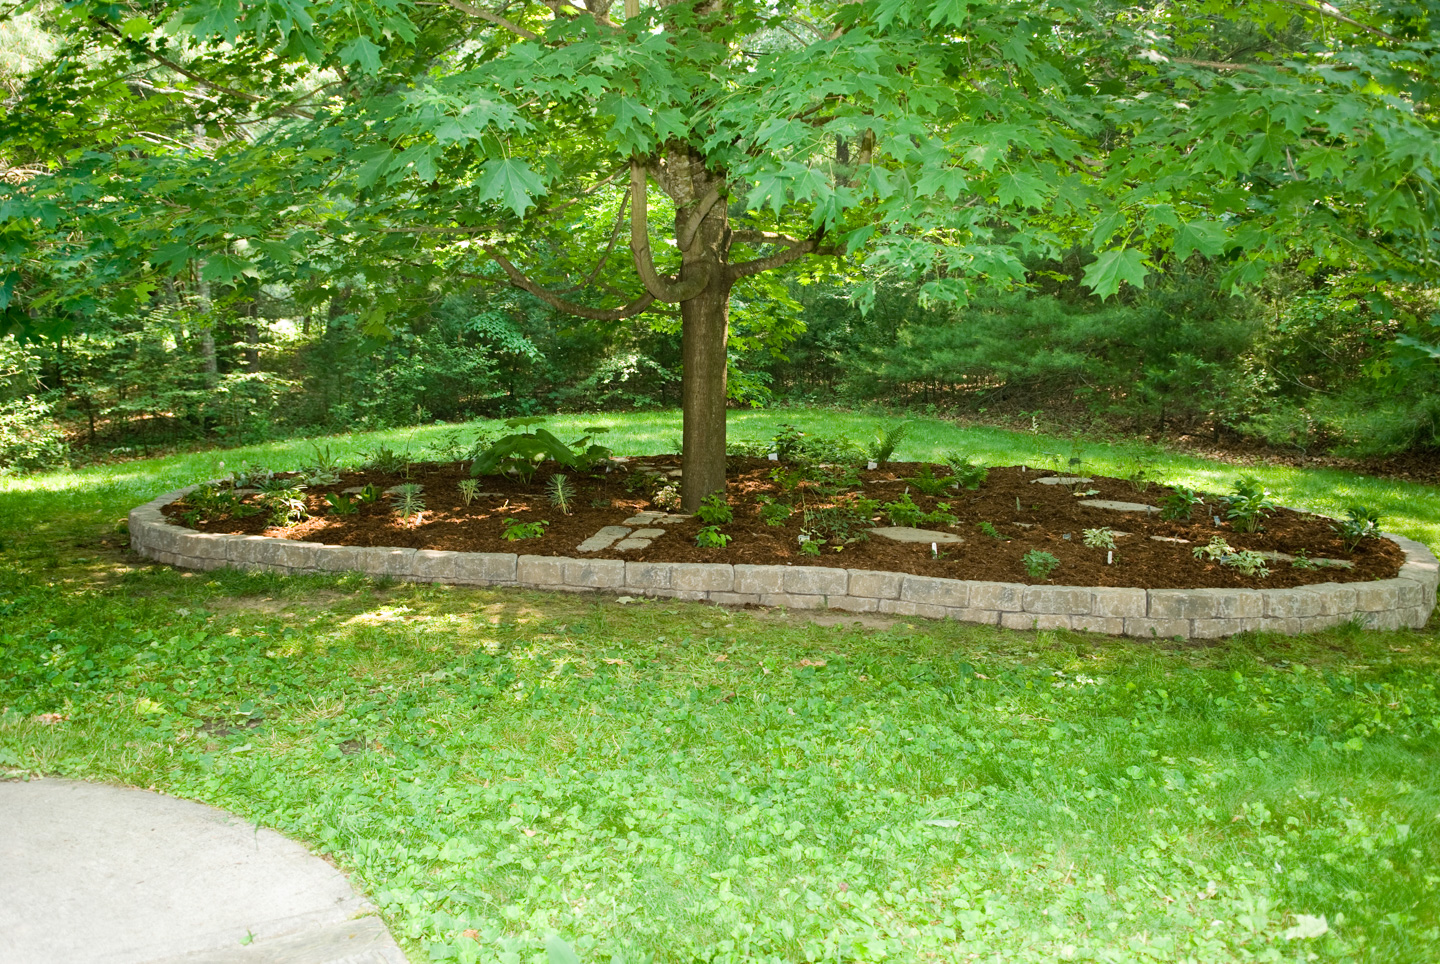
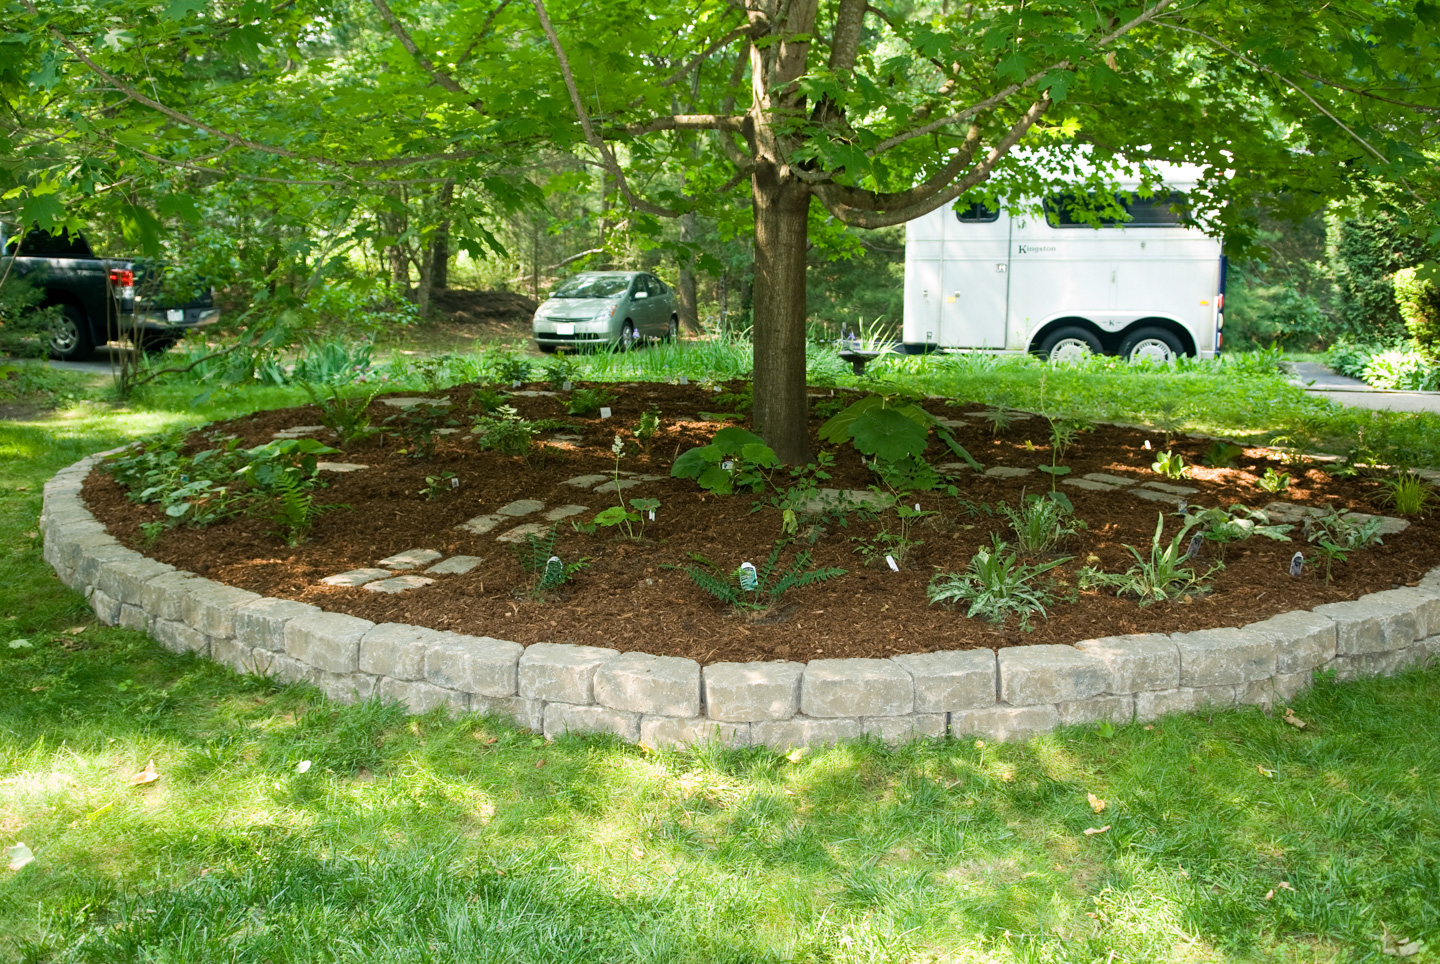
You can see I put walkway stones and stepping stones so that I can get to all of the plants.
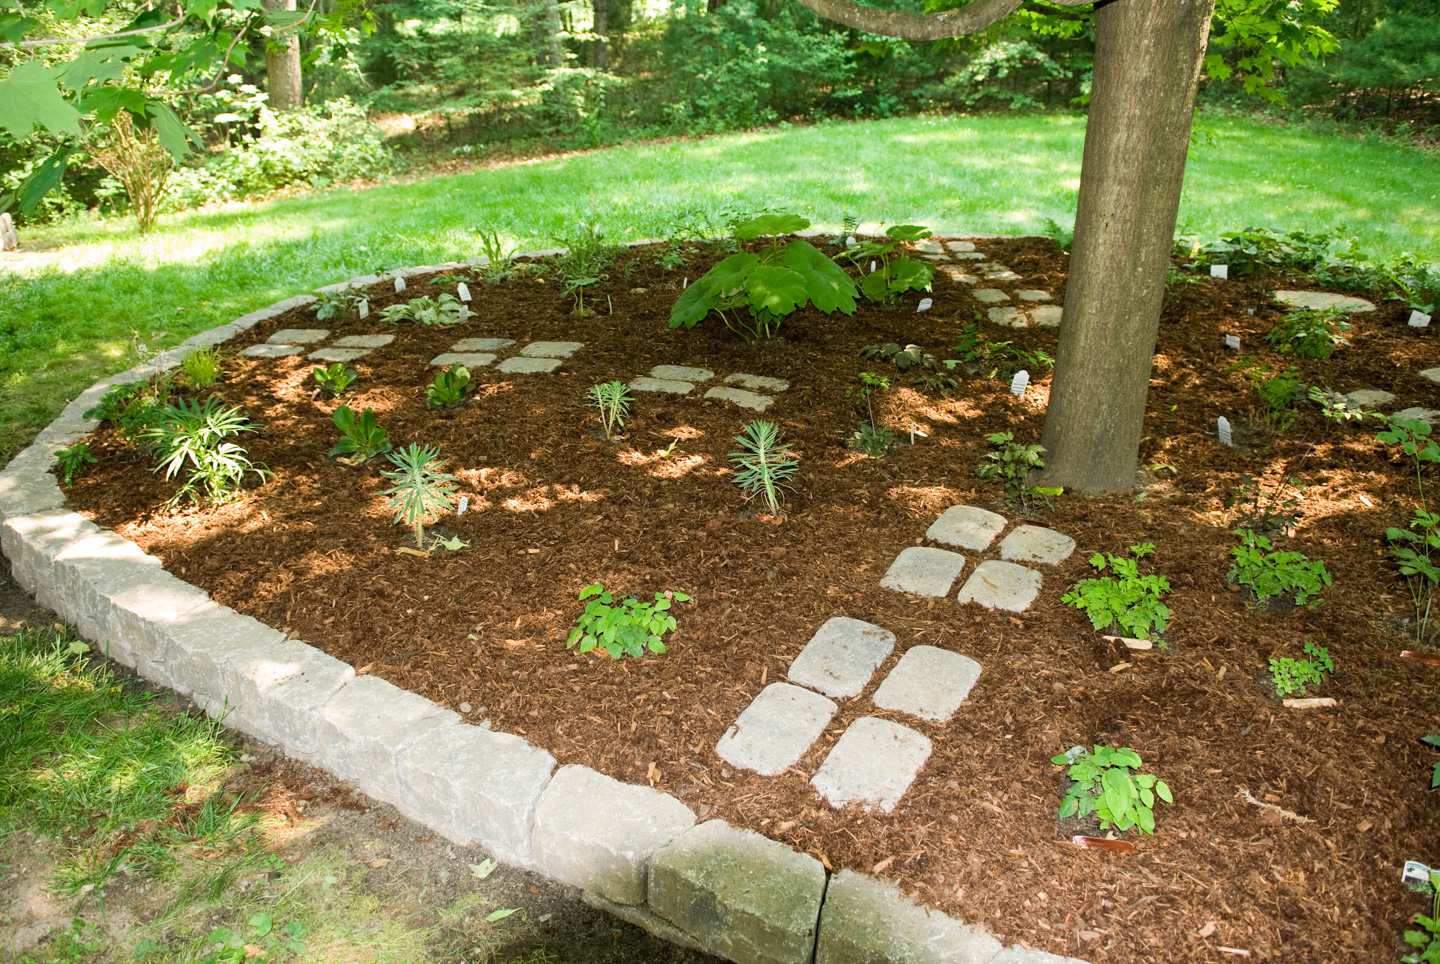


One close-up picture so you can see what the tags look like.
And the garden out back:
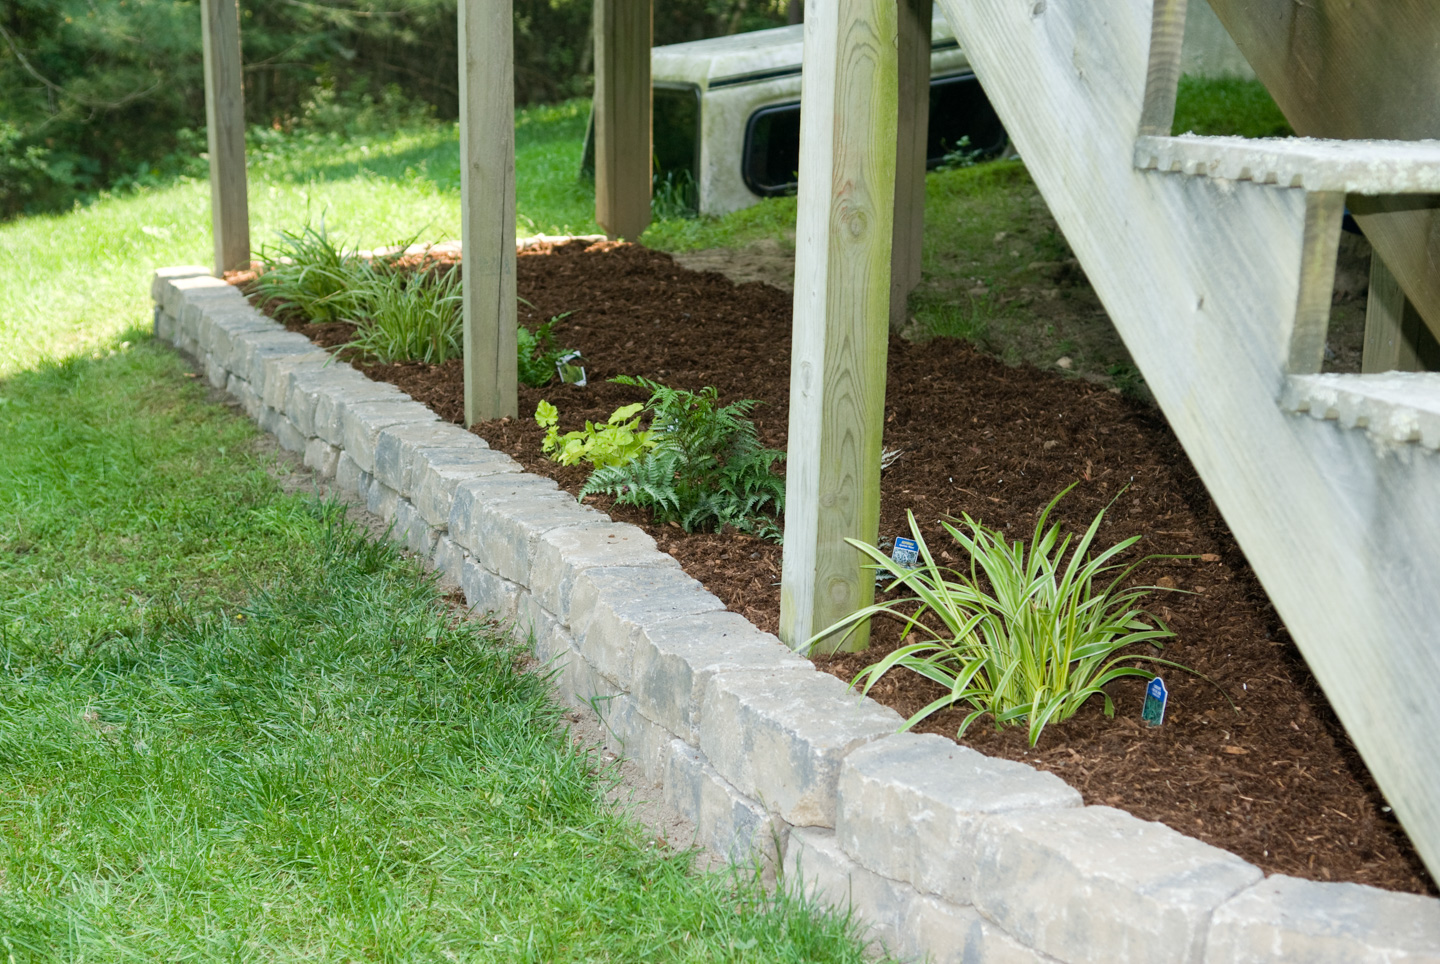
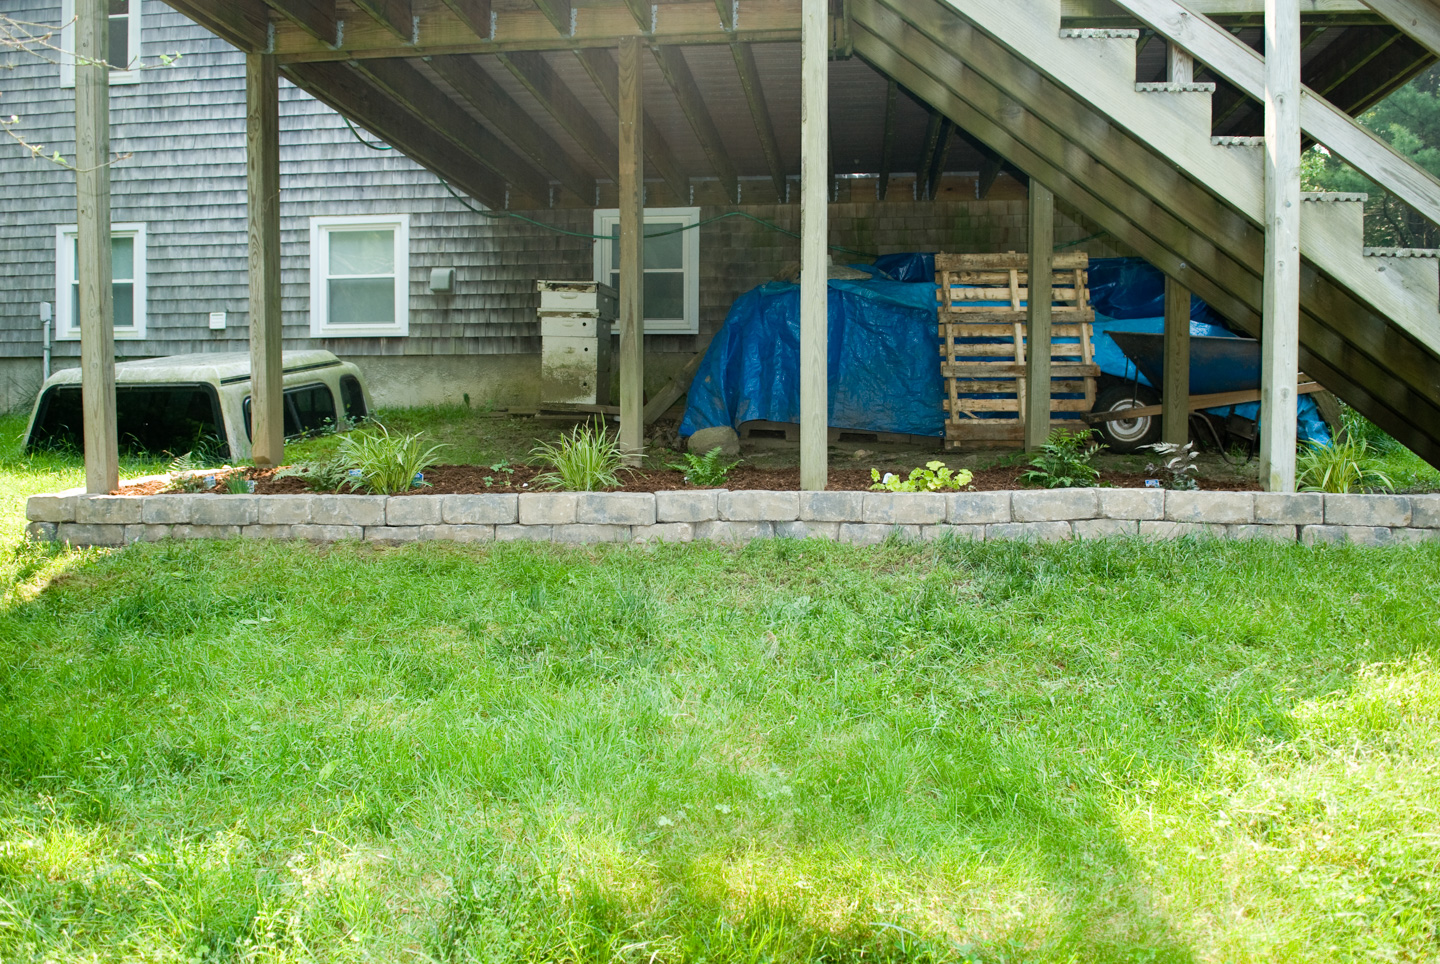
Ok, so the blue tarp isn't great, but the wall and plants in front do make it pretter.
When the plants fill in, I'll post some updated pictures. Right now of course there is more mulch than plants. Even so, it looks better than the dirt did.
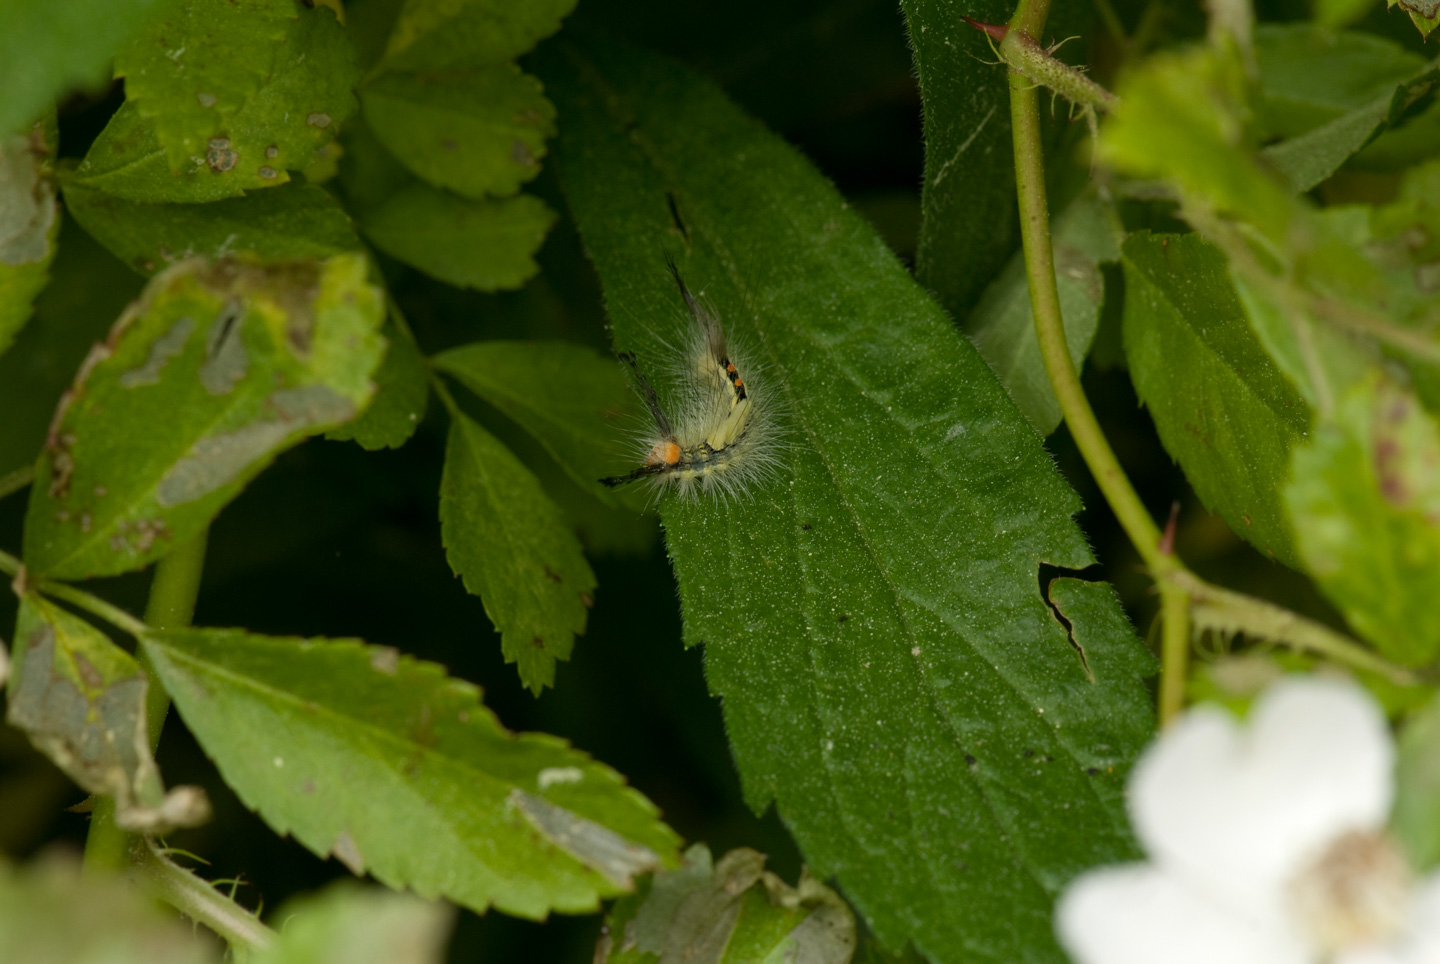
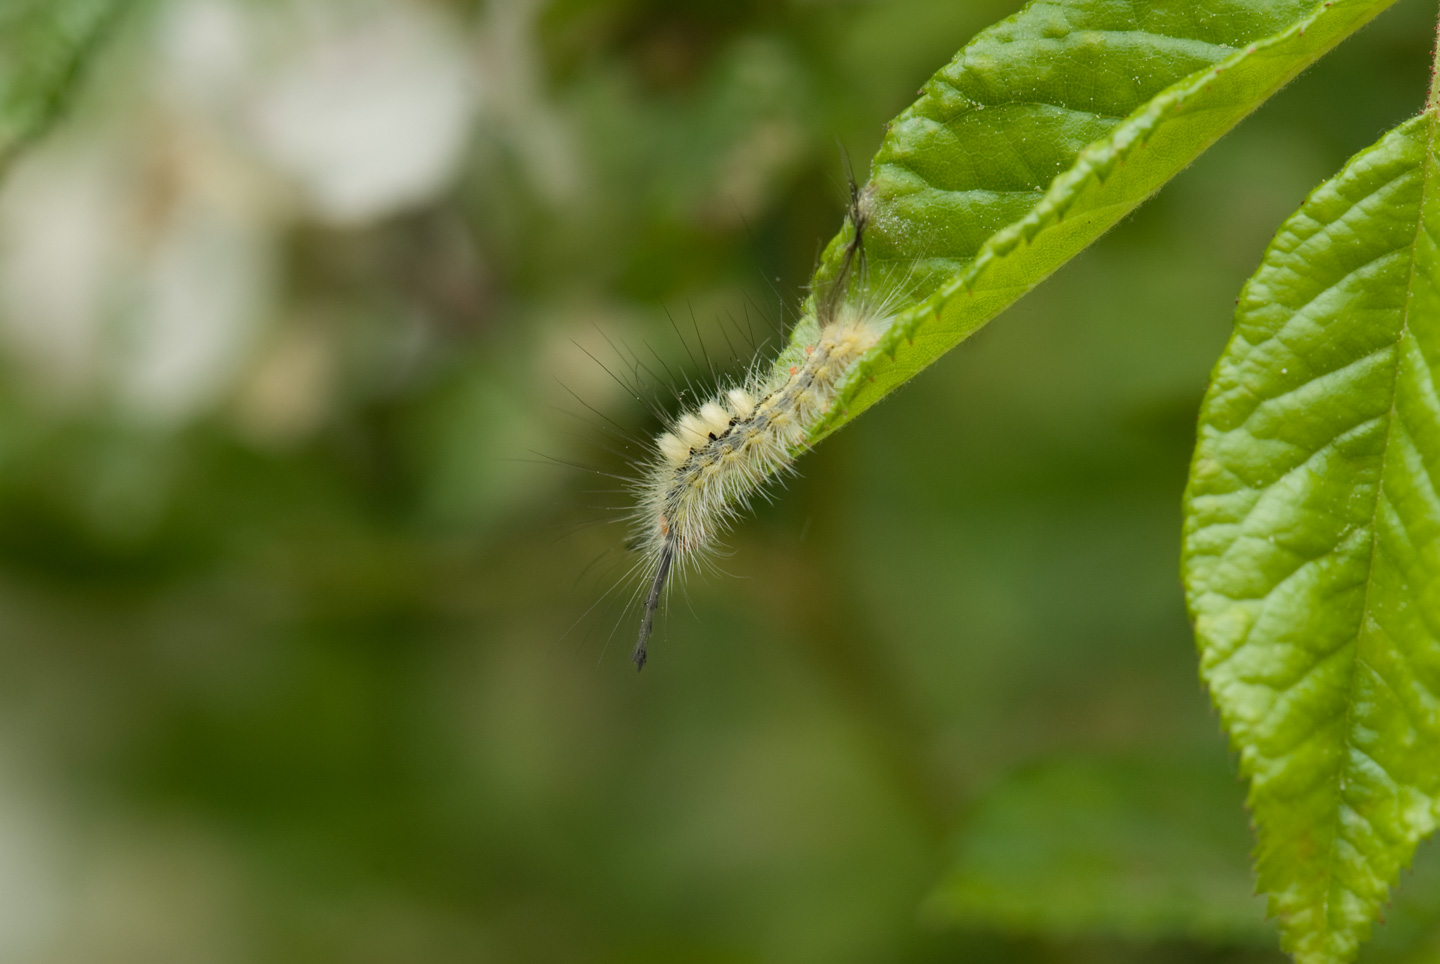
Oh, I also wanted to share a couple pictures of a cool looking caterpillar. Unfortunately, I think it & its bretheren are eating up all the leaves on some of our trees. It is a Orgyia leucostigma, or White-marked tussock moth.
Updated April 2026